Category Archives: Crafts

The Eternal Optimist

I started this blog way back when as a home for my creative writing, then it kind of morphed into a craft blog also. I mostly ignore it, except when I am home for any extended amount of time, like now. For some reason, physical or mental distress always triggers my creative side.

On December 2 I had a hernia repair, again. Not the same as the one I had in 2015. No, my body broke again in the same area, but differently. This time the lining of my abdomen, the lining that keeps your guts from falling out, decided to develop a rather large hole. So I am off work until sometime in early January. I am considered an “essential worker” so there has been no previous quarantine for me. And I live in Texas, so quarantine is an iffy thing anyway. I have had friends and family test positive, but no one has had any serious complications, so I am lucky in that regard. But this post isn’t about that. It’s about my love/hate relationship with my creative muse, Sally.

I don’t remember being particularly artistic as a child. I have a younger brother who can draw quite well, and my mother was always doing jigsaw puzzles and paint by number sets, but I was never really drawn to anything in the visual arts. Of course, there was the requisite art projects in school.I enjoyed them, but had no desire to try anything on my own. Sally had not shown herself to me yet, and I was quite content to be an average child. Most of my spare time was spent reading.Then, in junior high, Sally showed up and convinced me I could write my own book. Sally was wrong. Sally, as I was to come to find out, is just a little bit crazy, and a lot lazy. Like me. If I ignore her, she goes away. I have no idea where, but if my dreams are any indication, she lives a very exciting, if weird life.

Sally is an eternal optimist. No matter how many times I give up on a project, she shows up with a “can do ” attitide. She convinces me to buy things, to organize and clean and get everything ready, so all I have to do is, well, do it. Then she leaves, and I am stuck with a pile of craft supplies and no idea where to start. Tough decisions must me made.

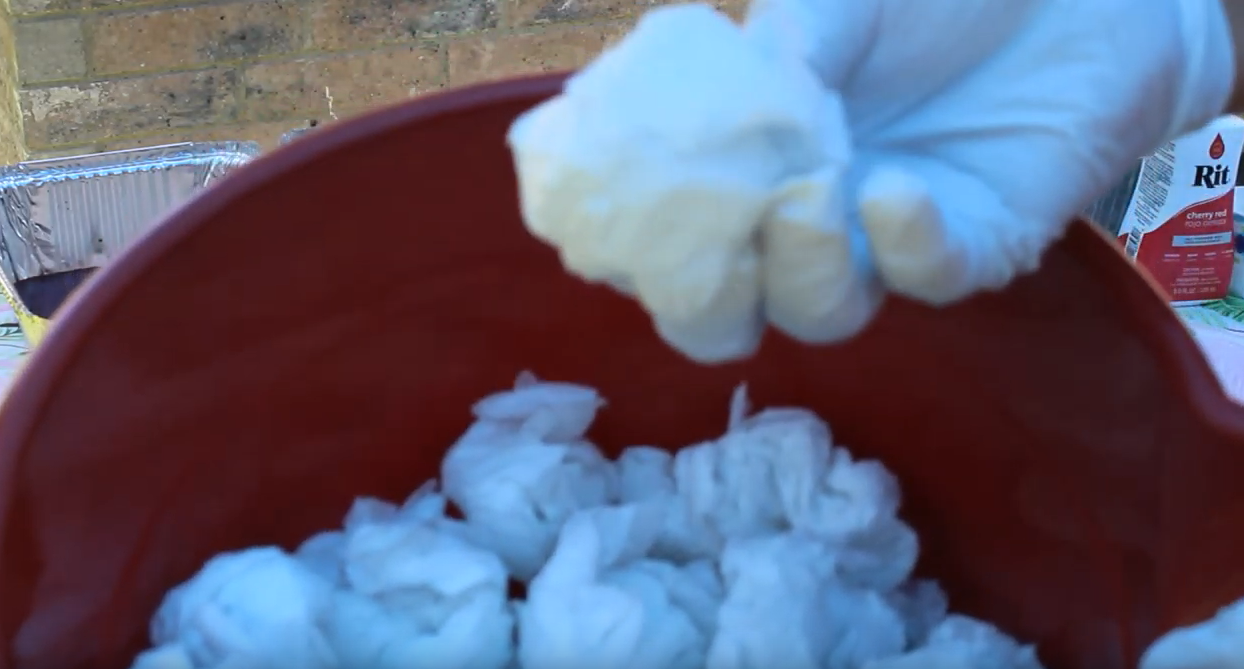
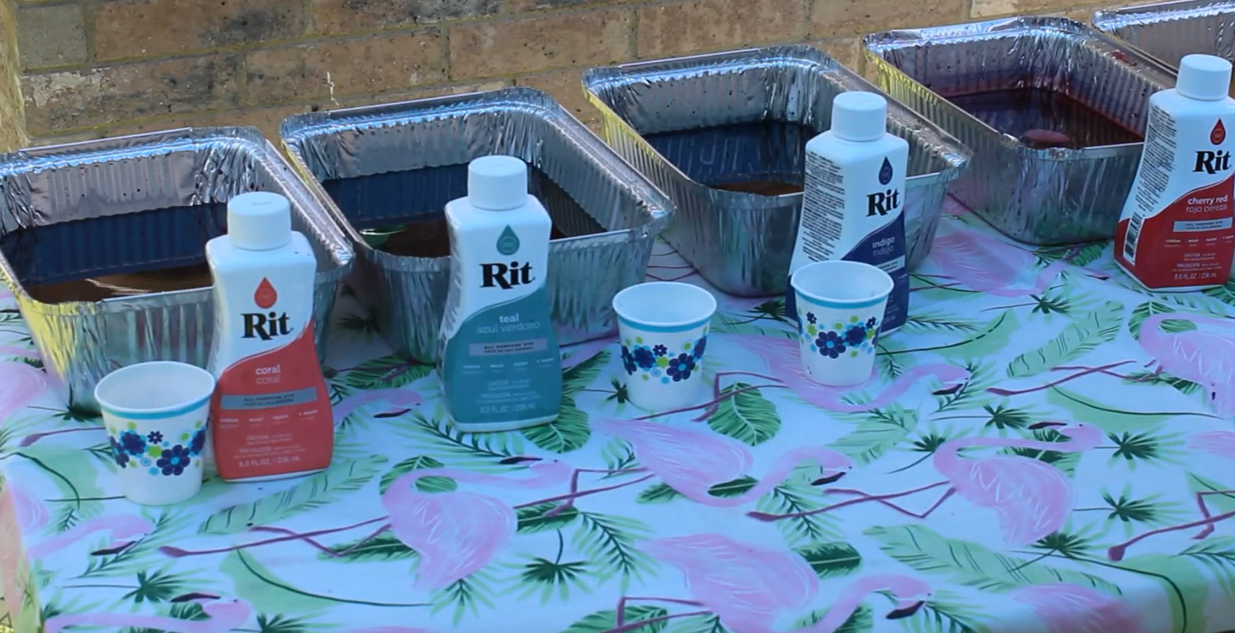
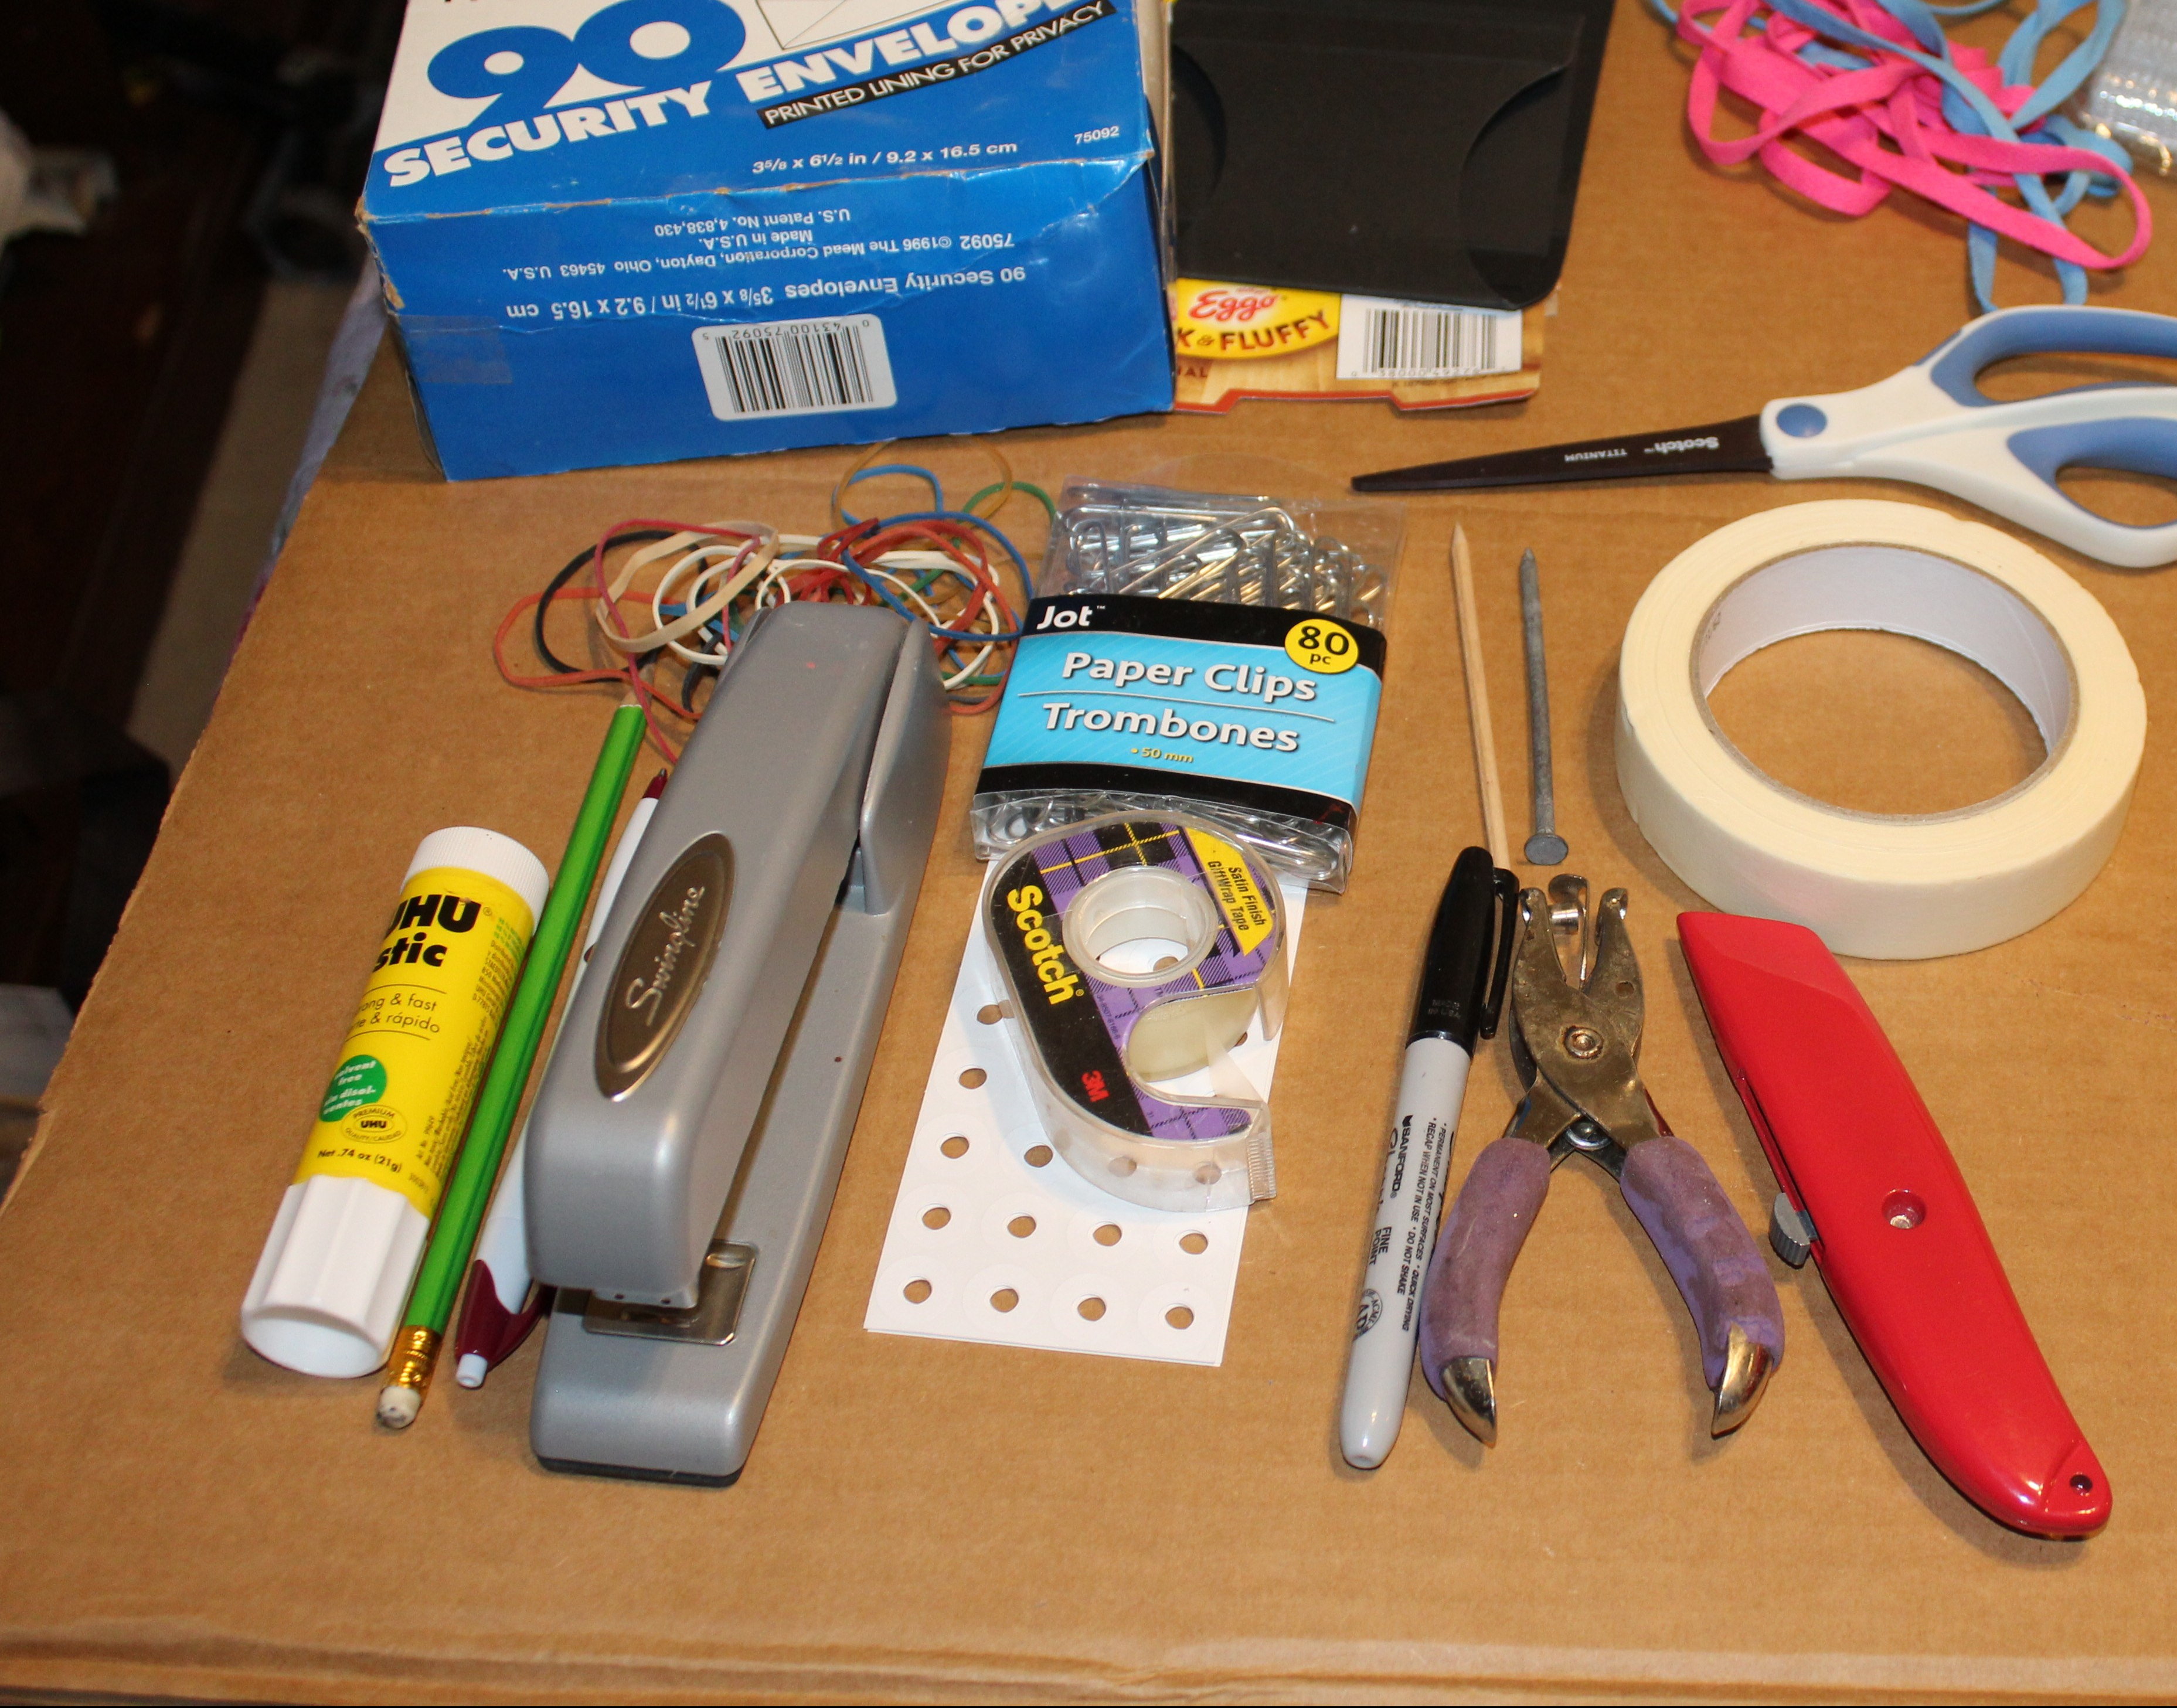
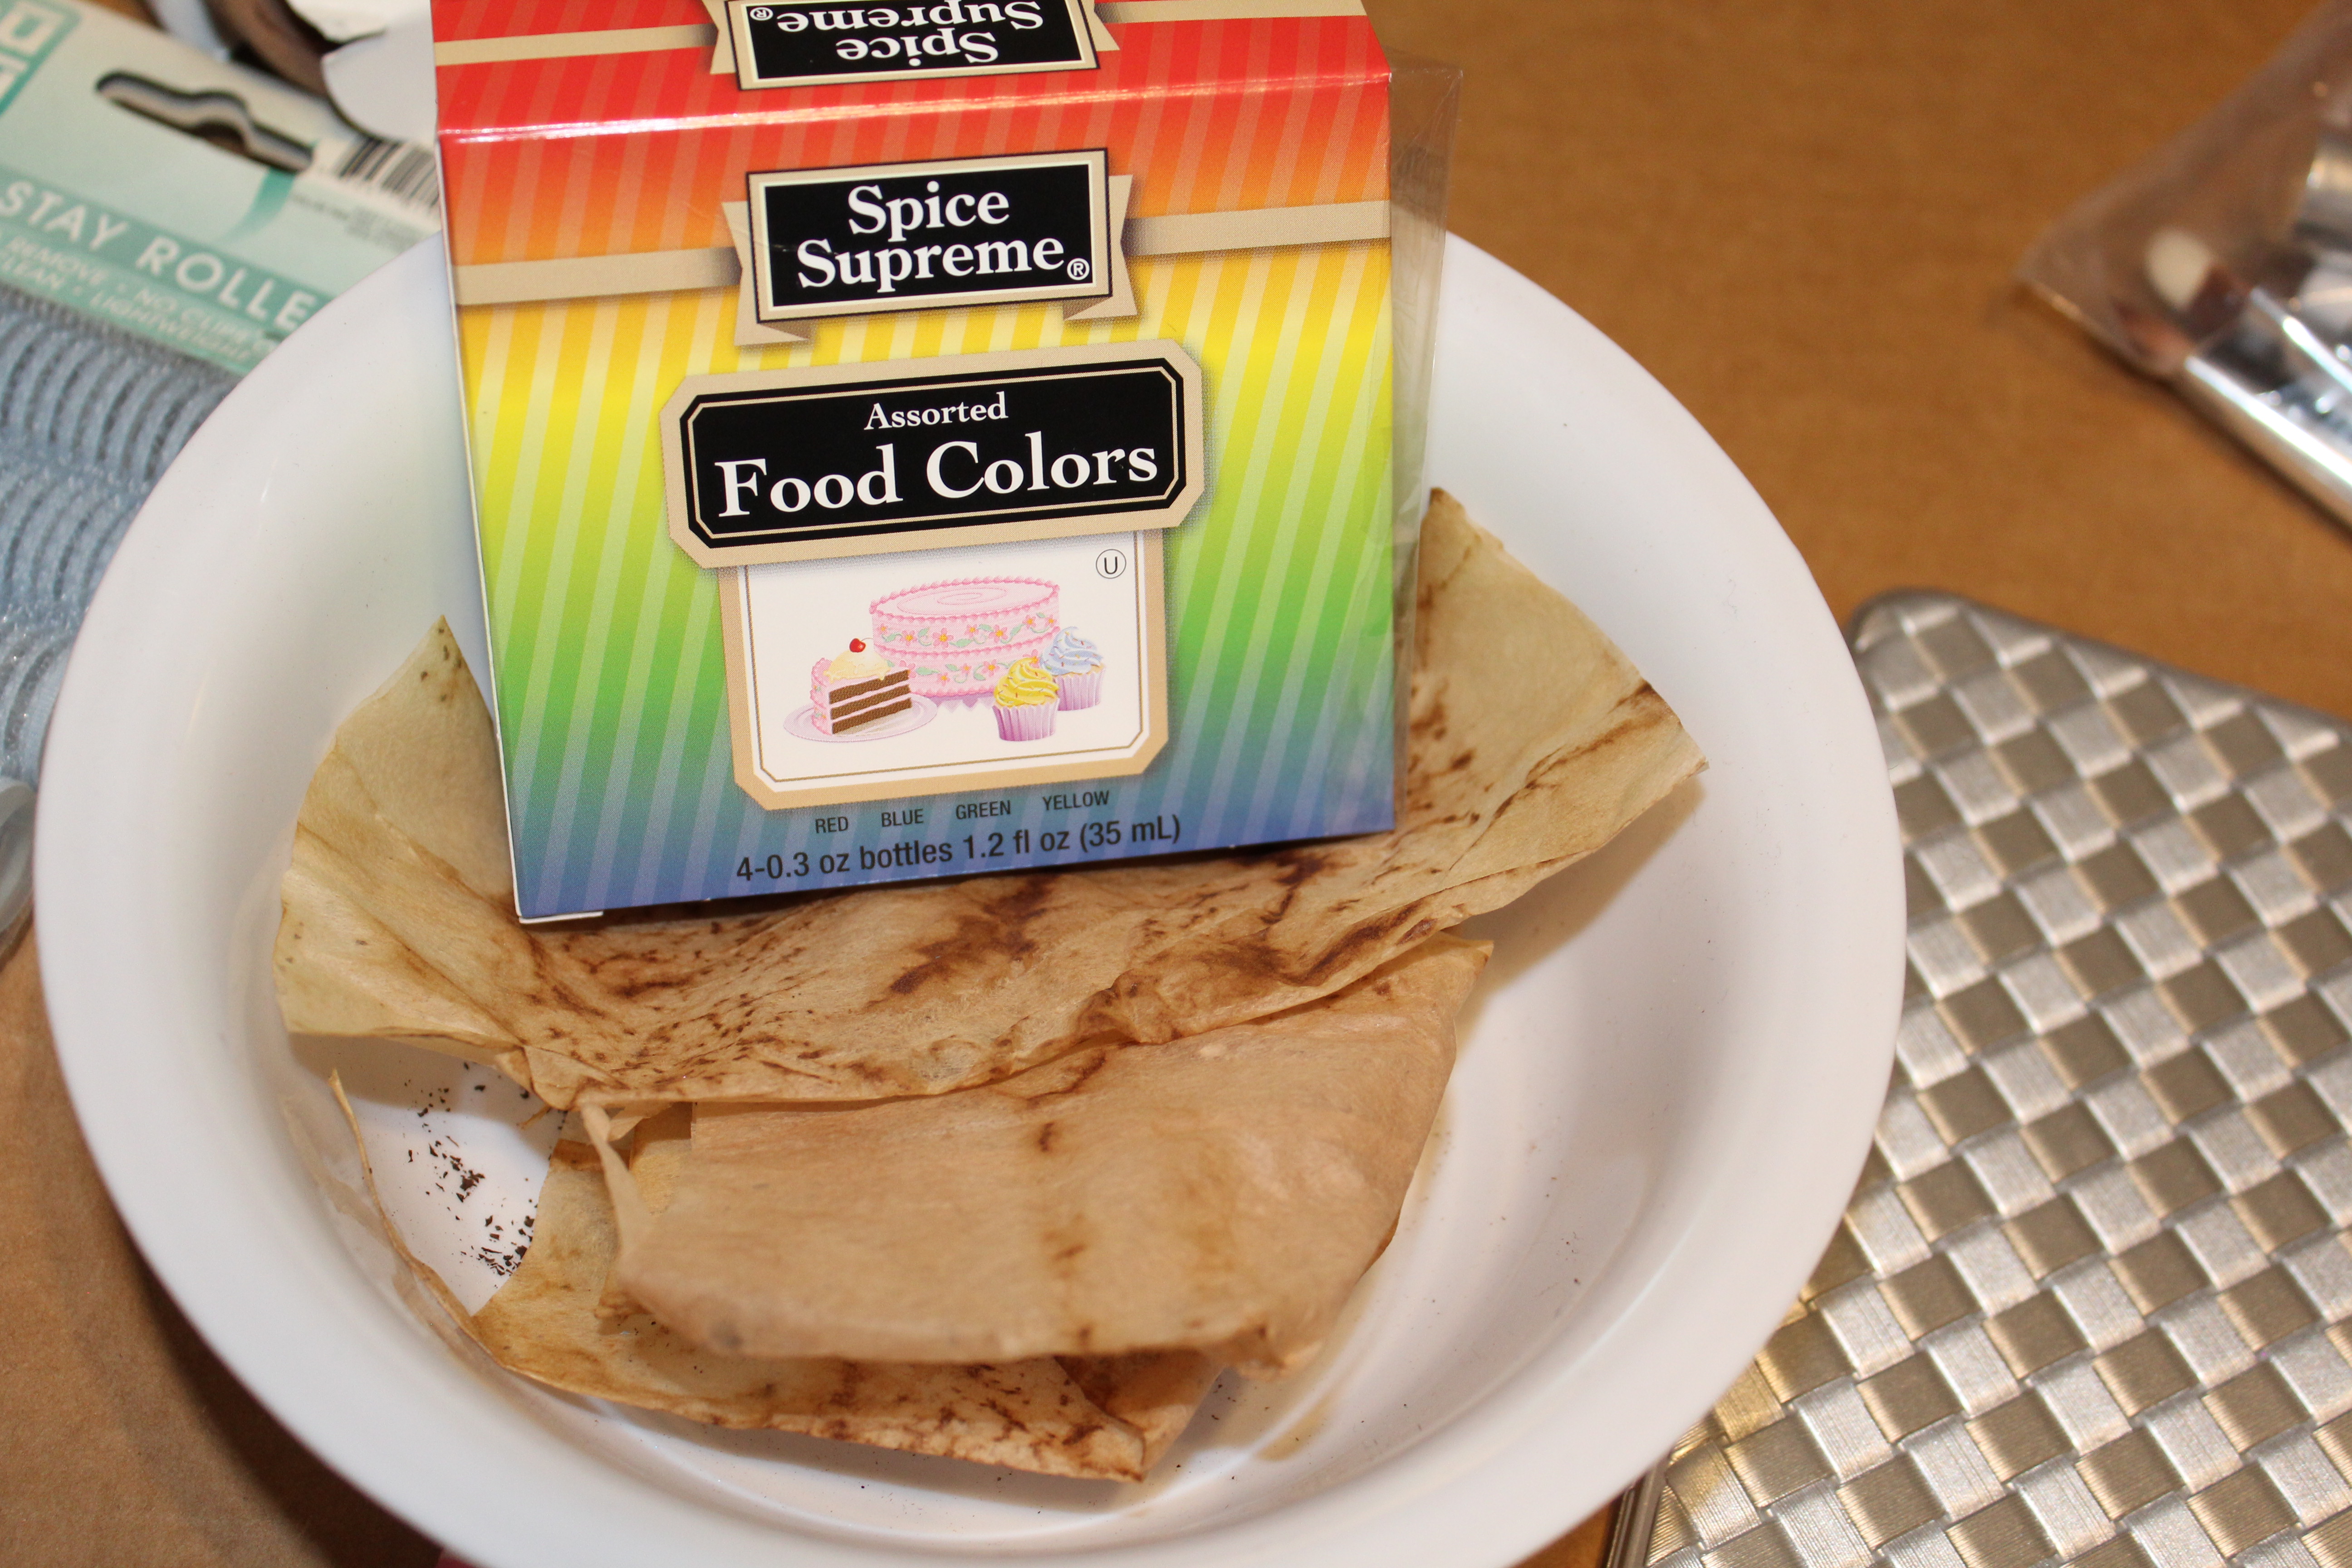
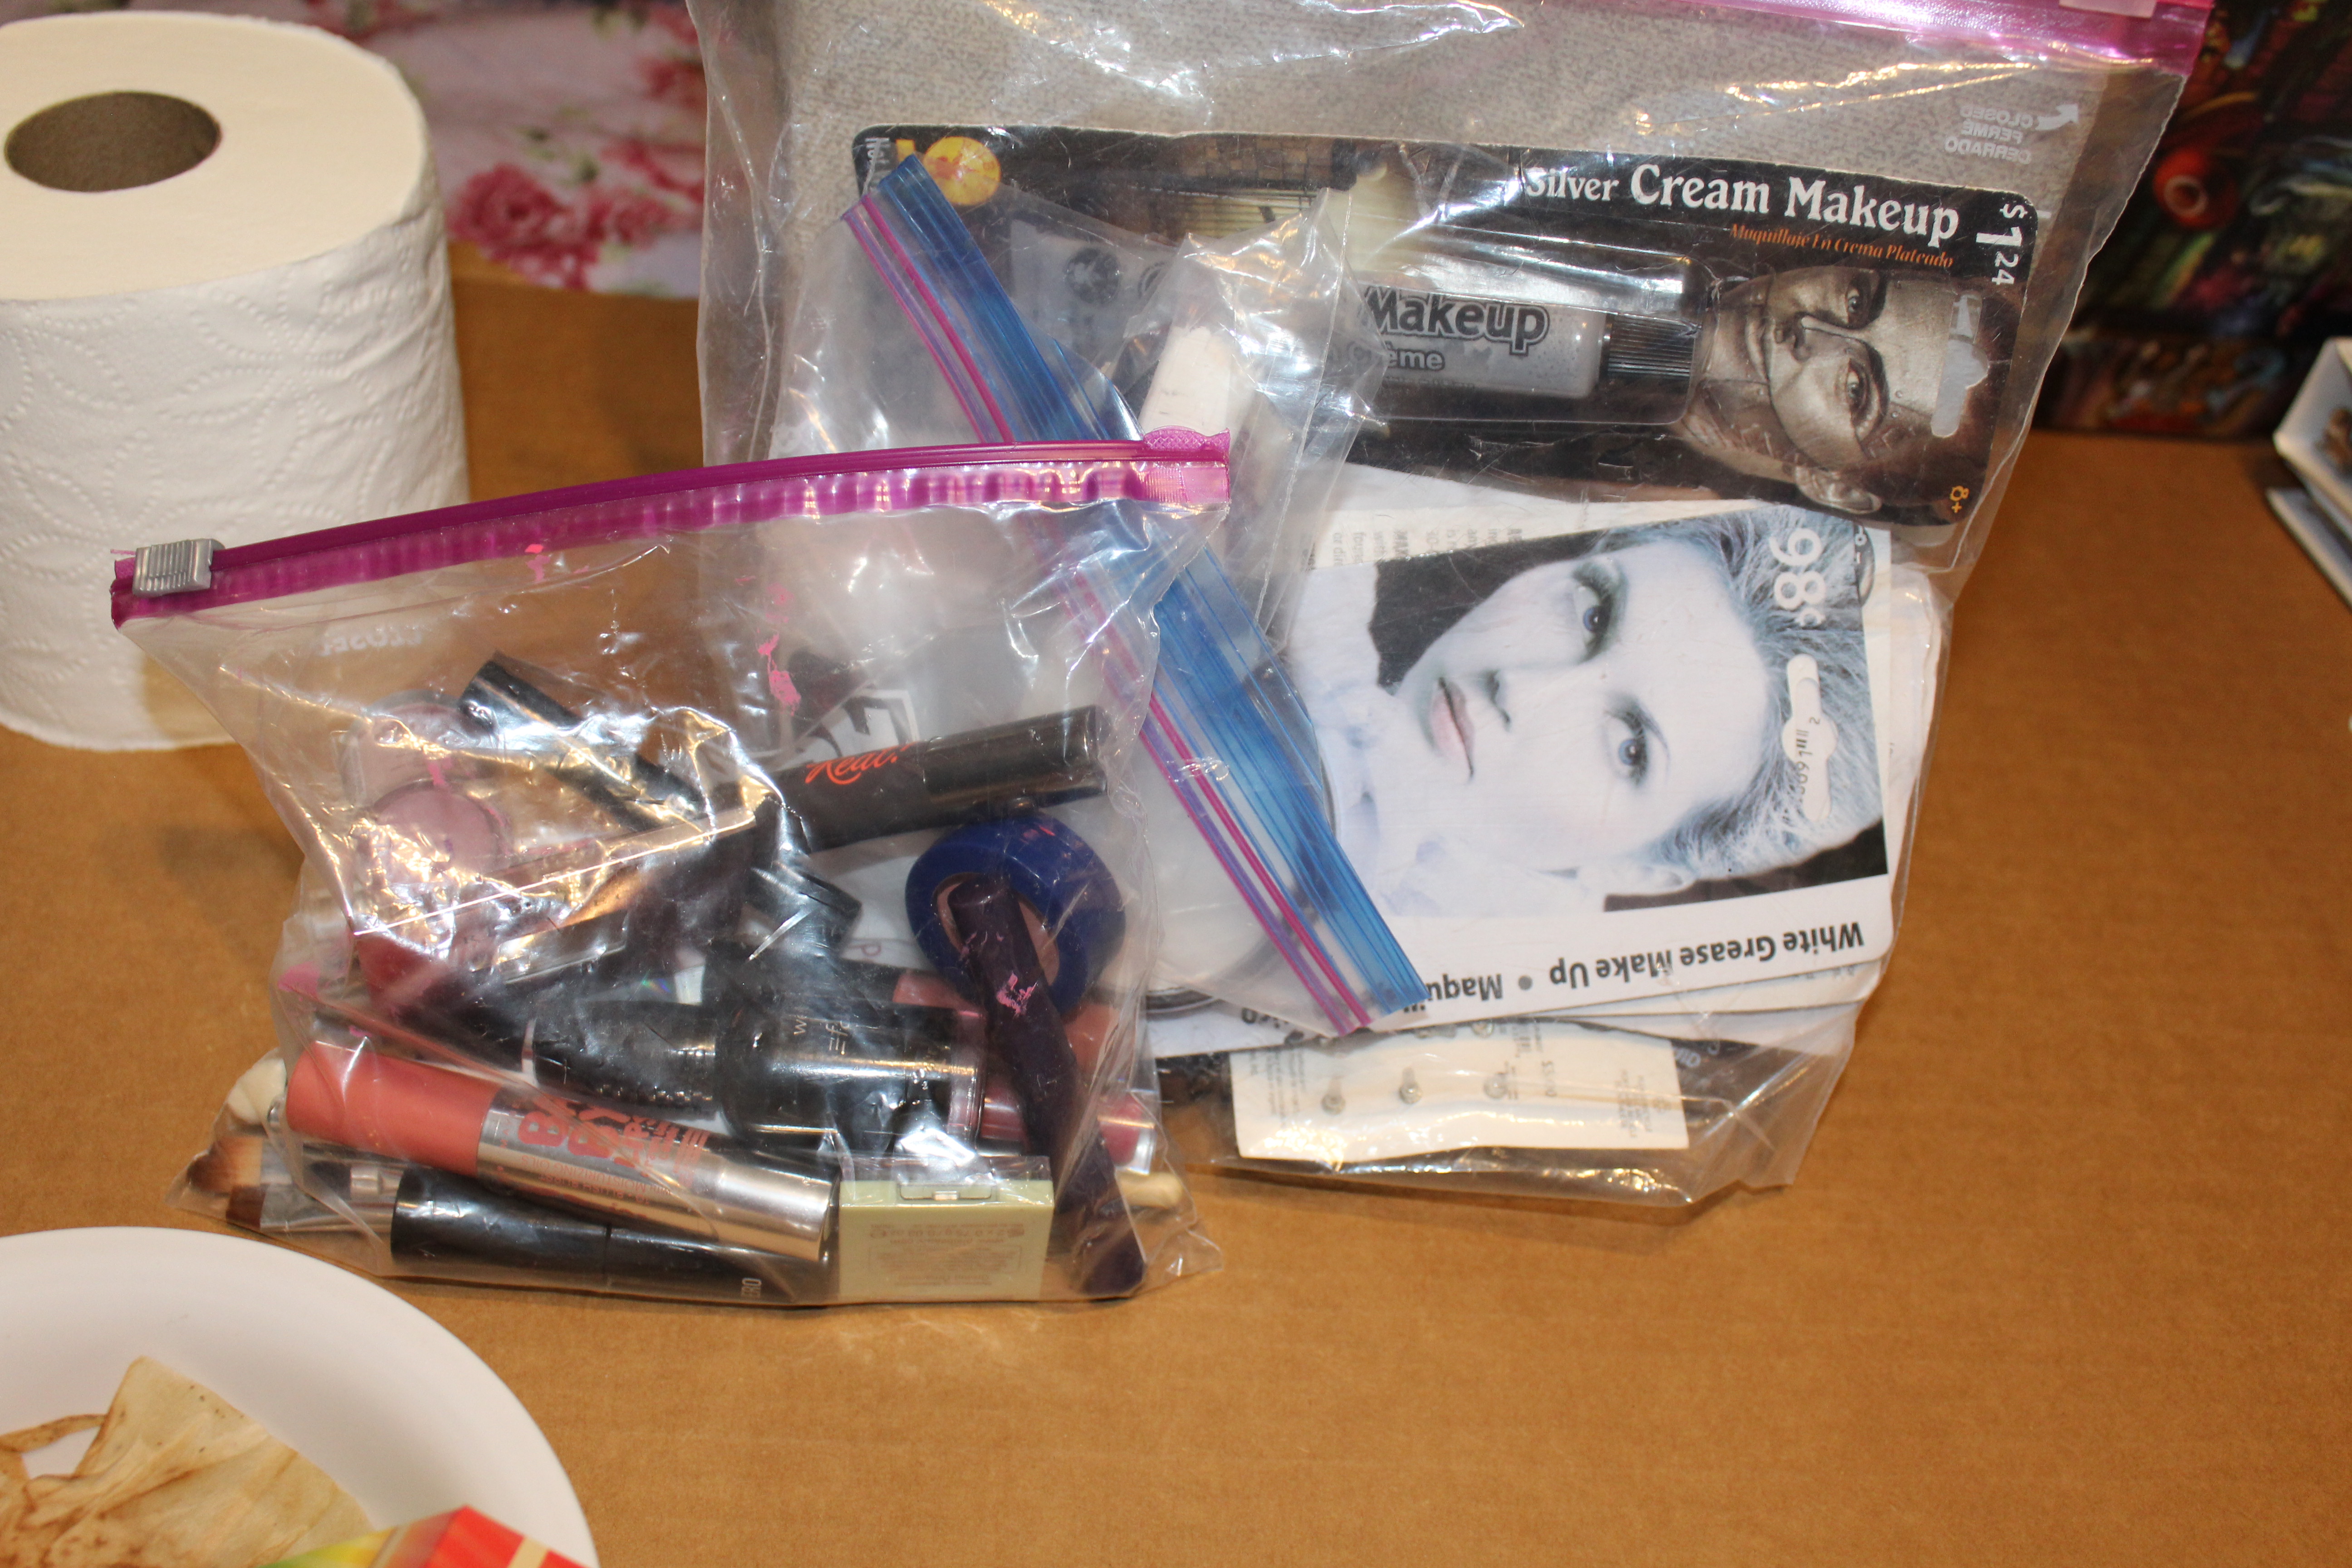
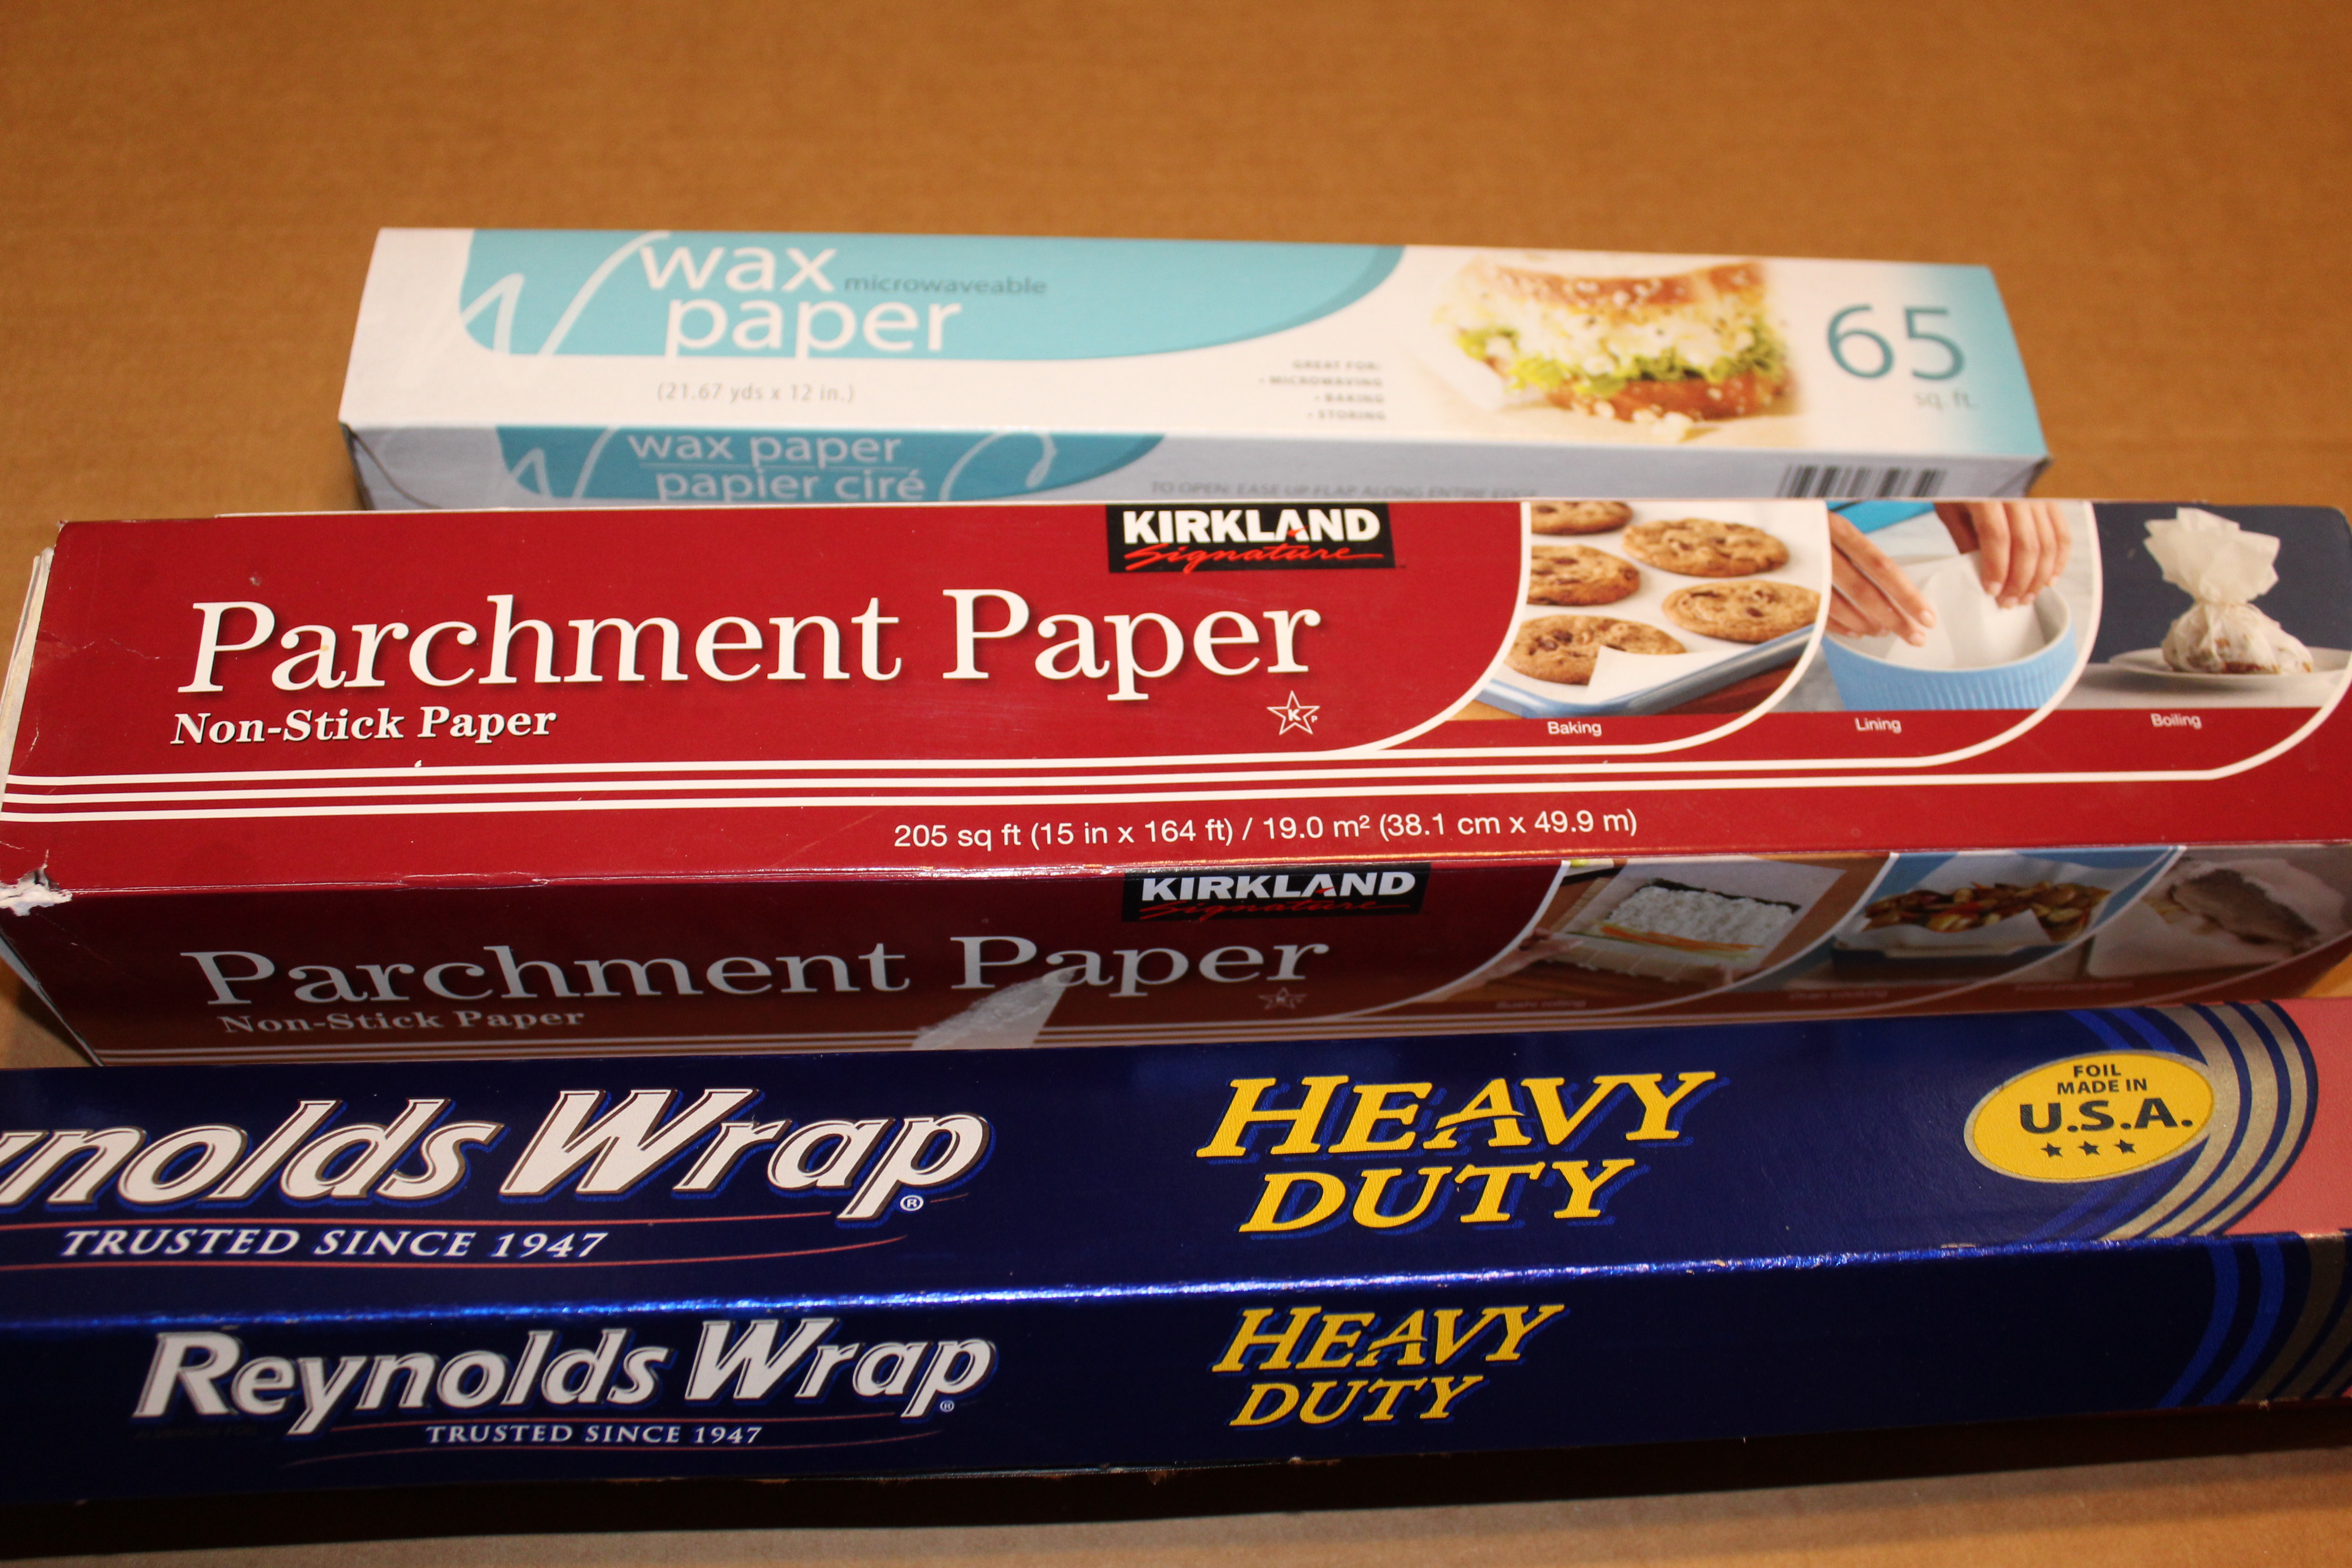
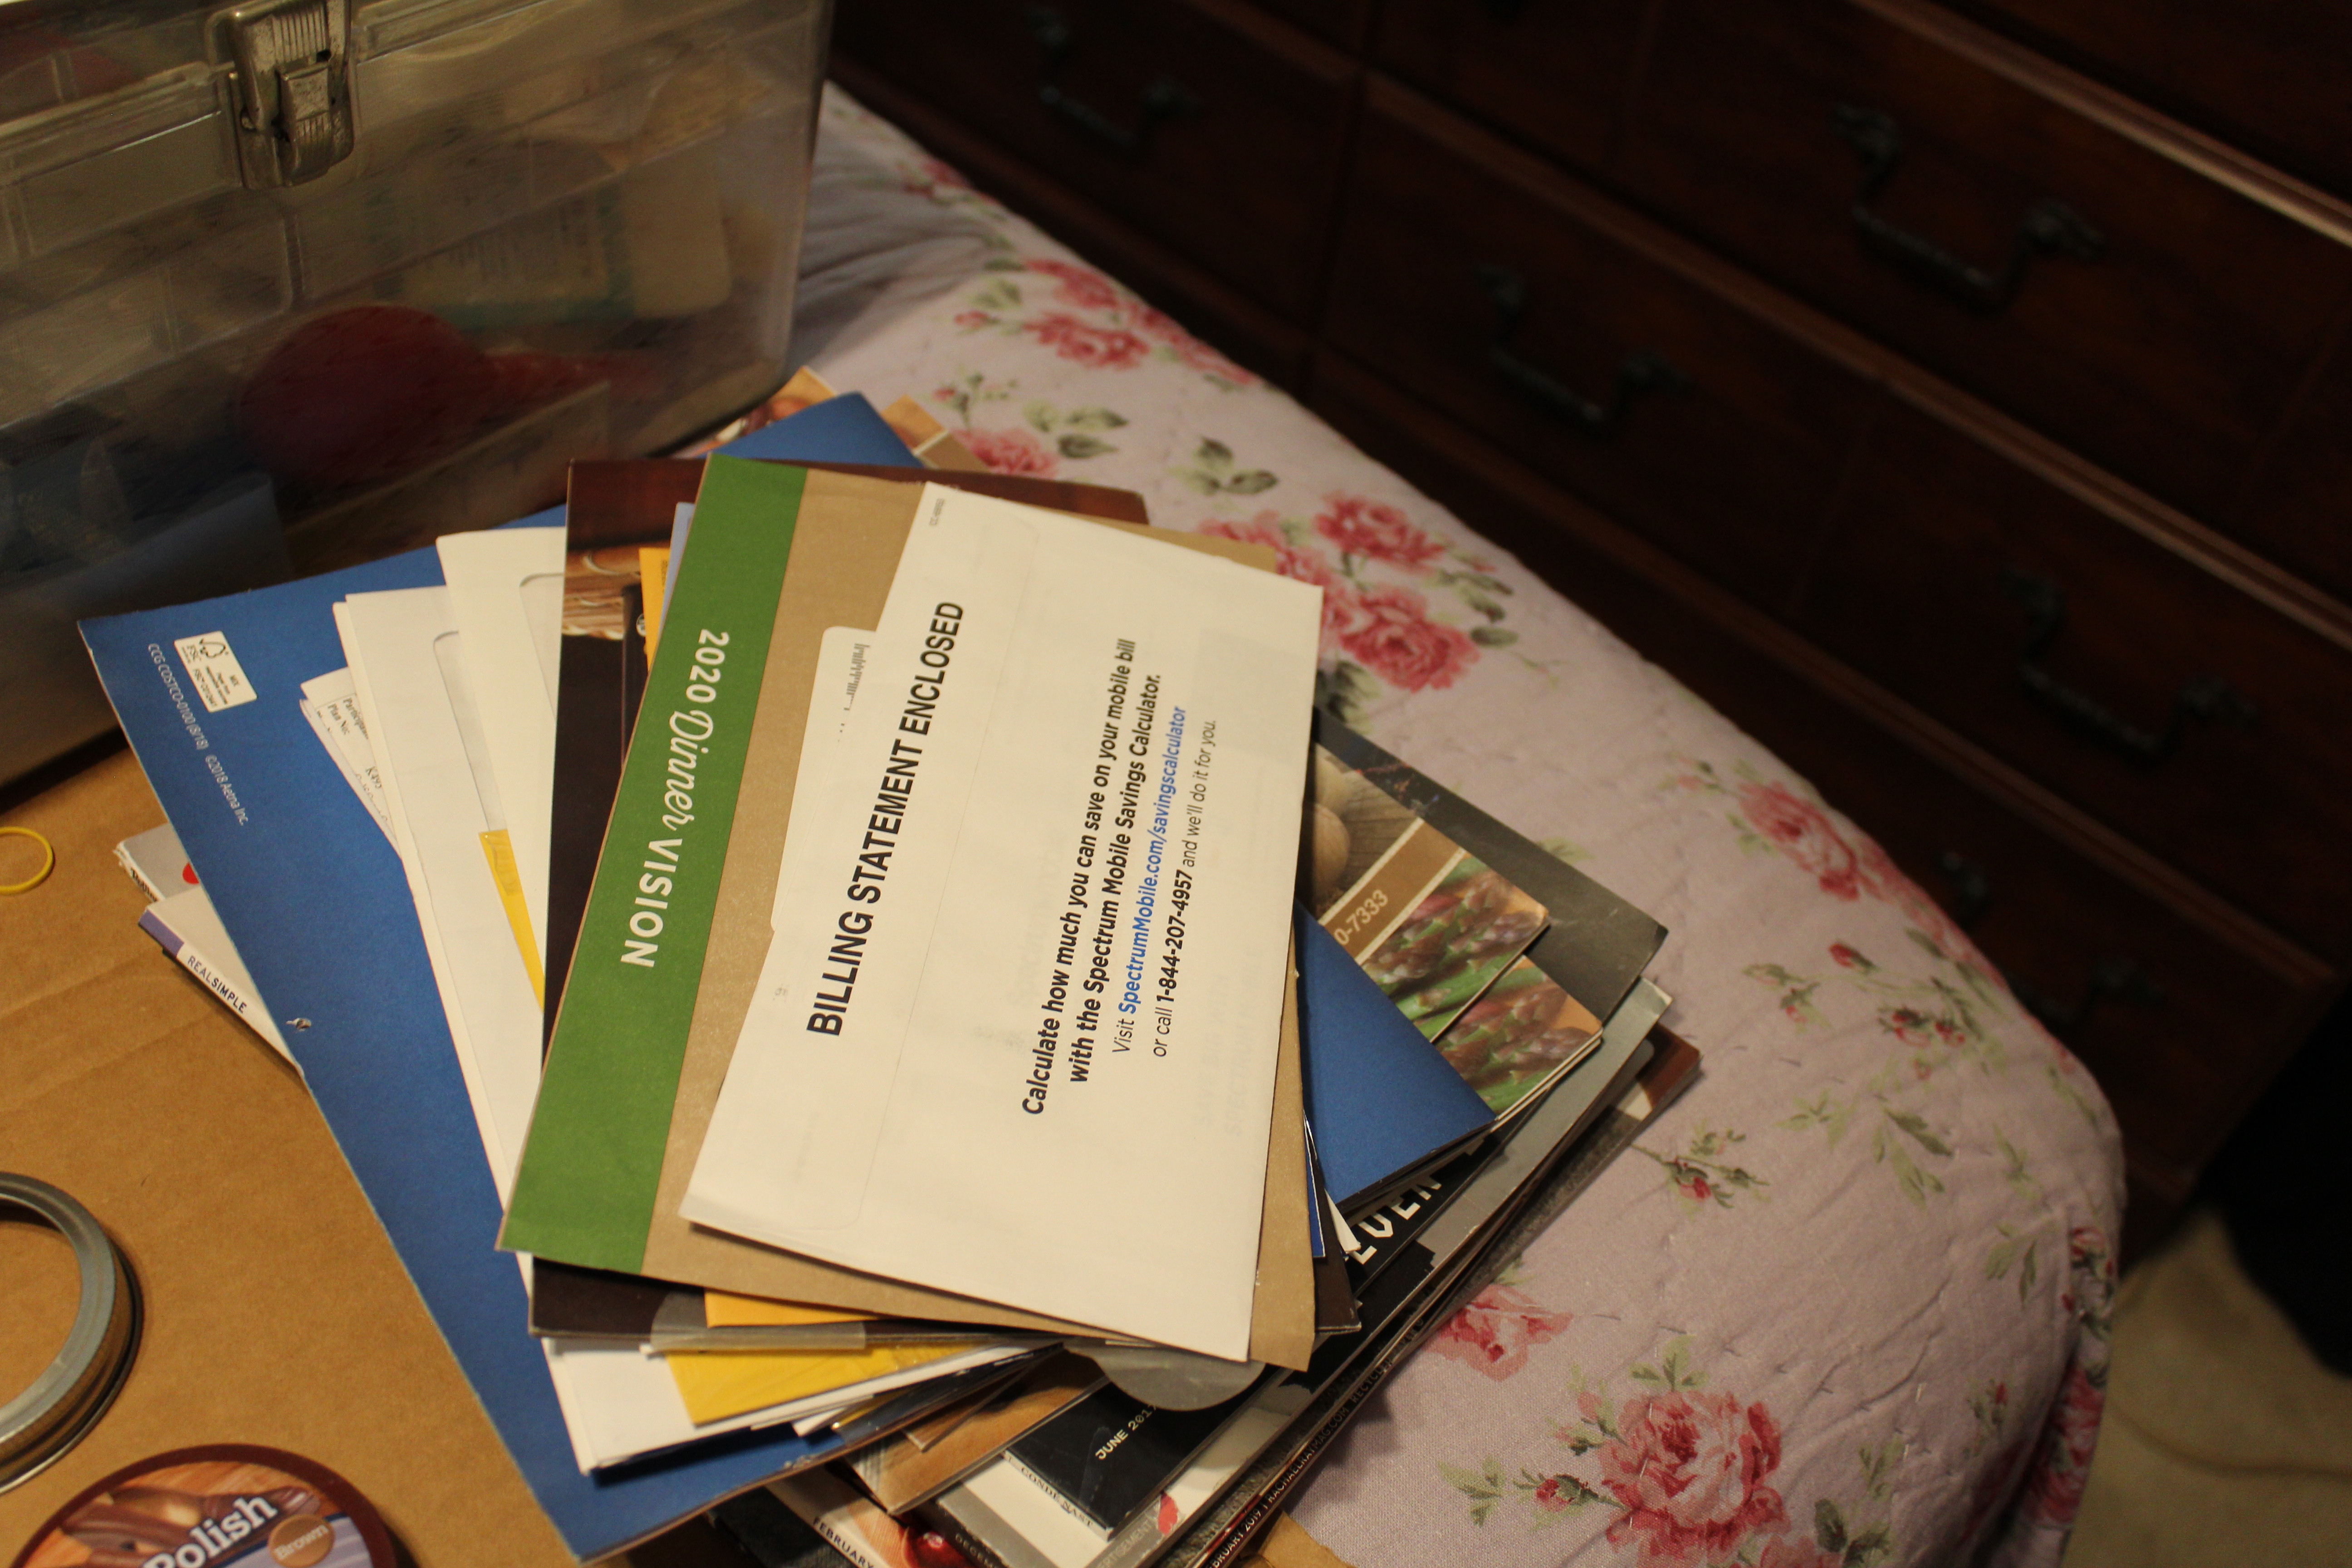
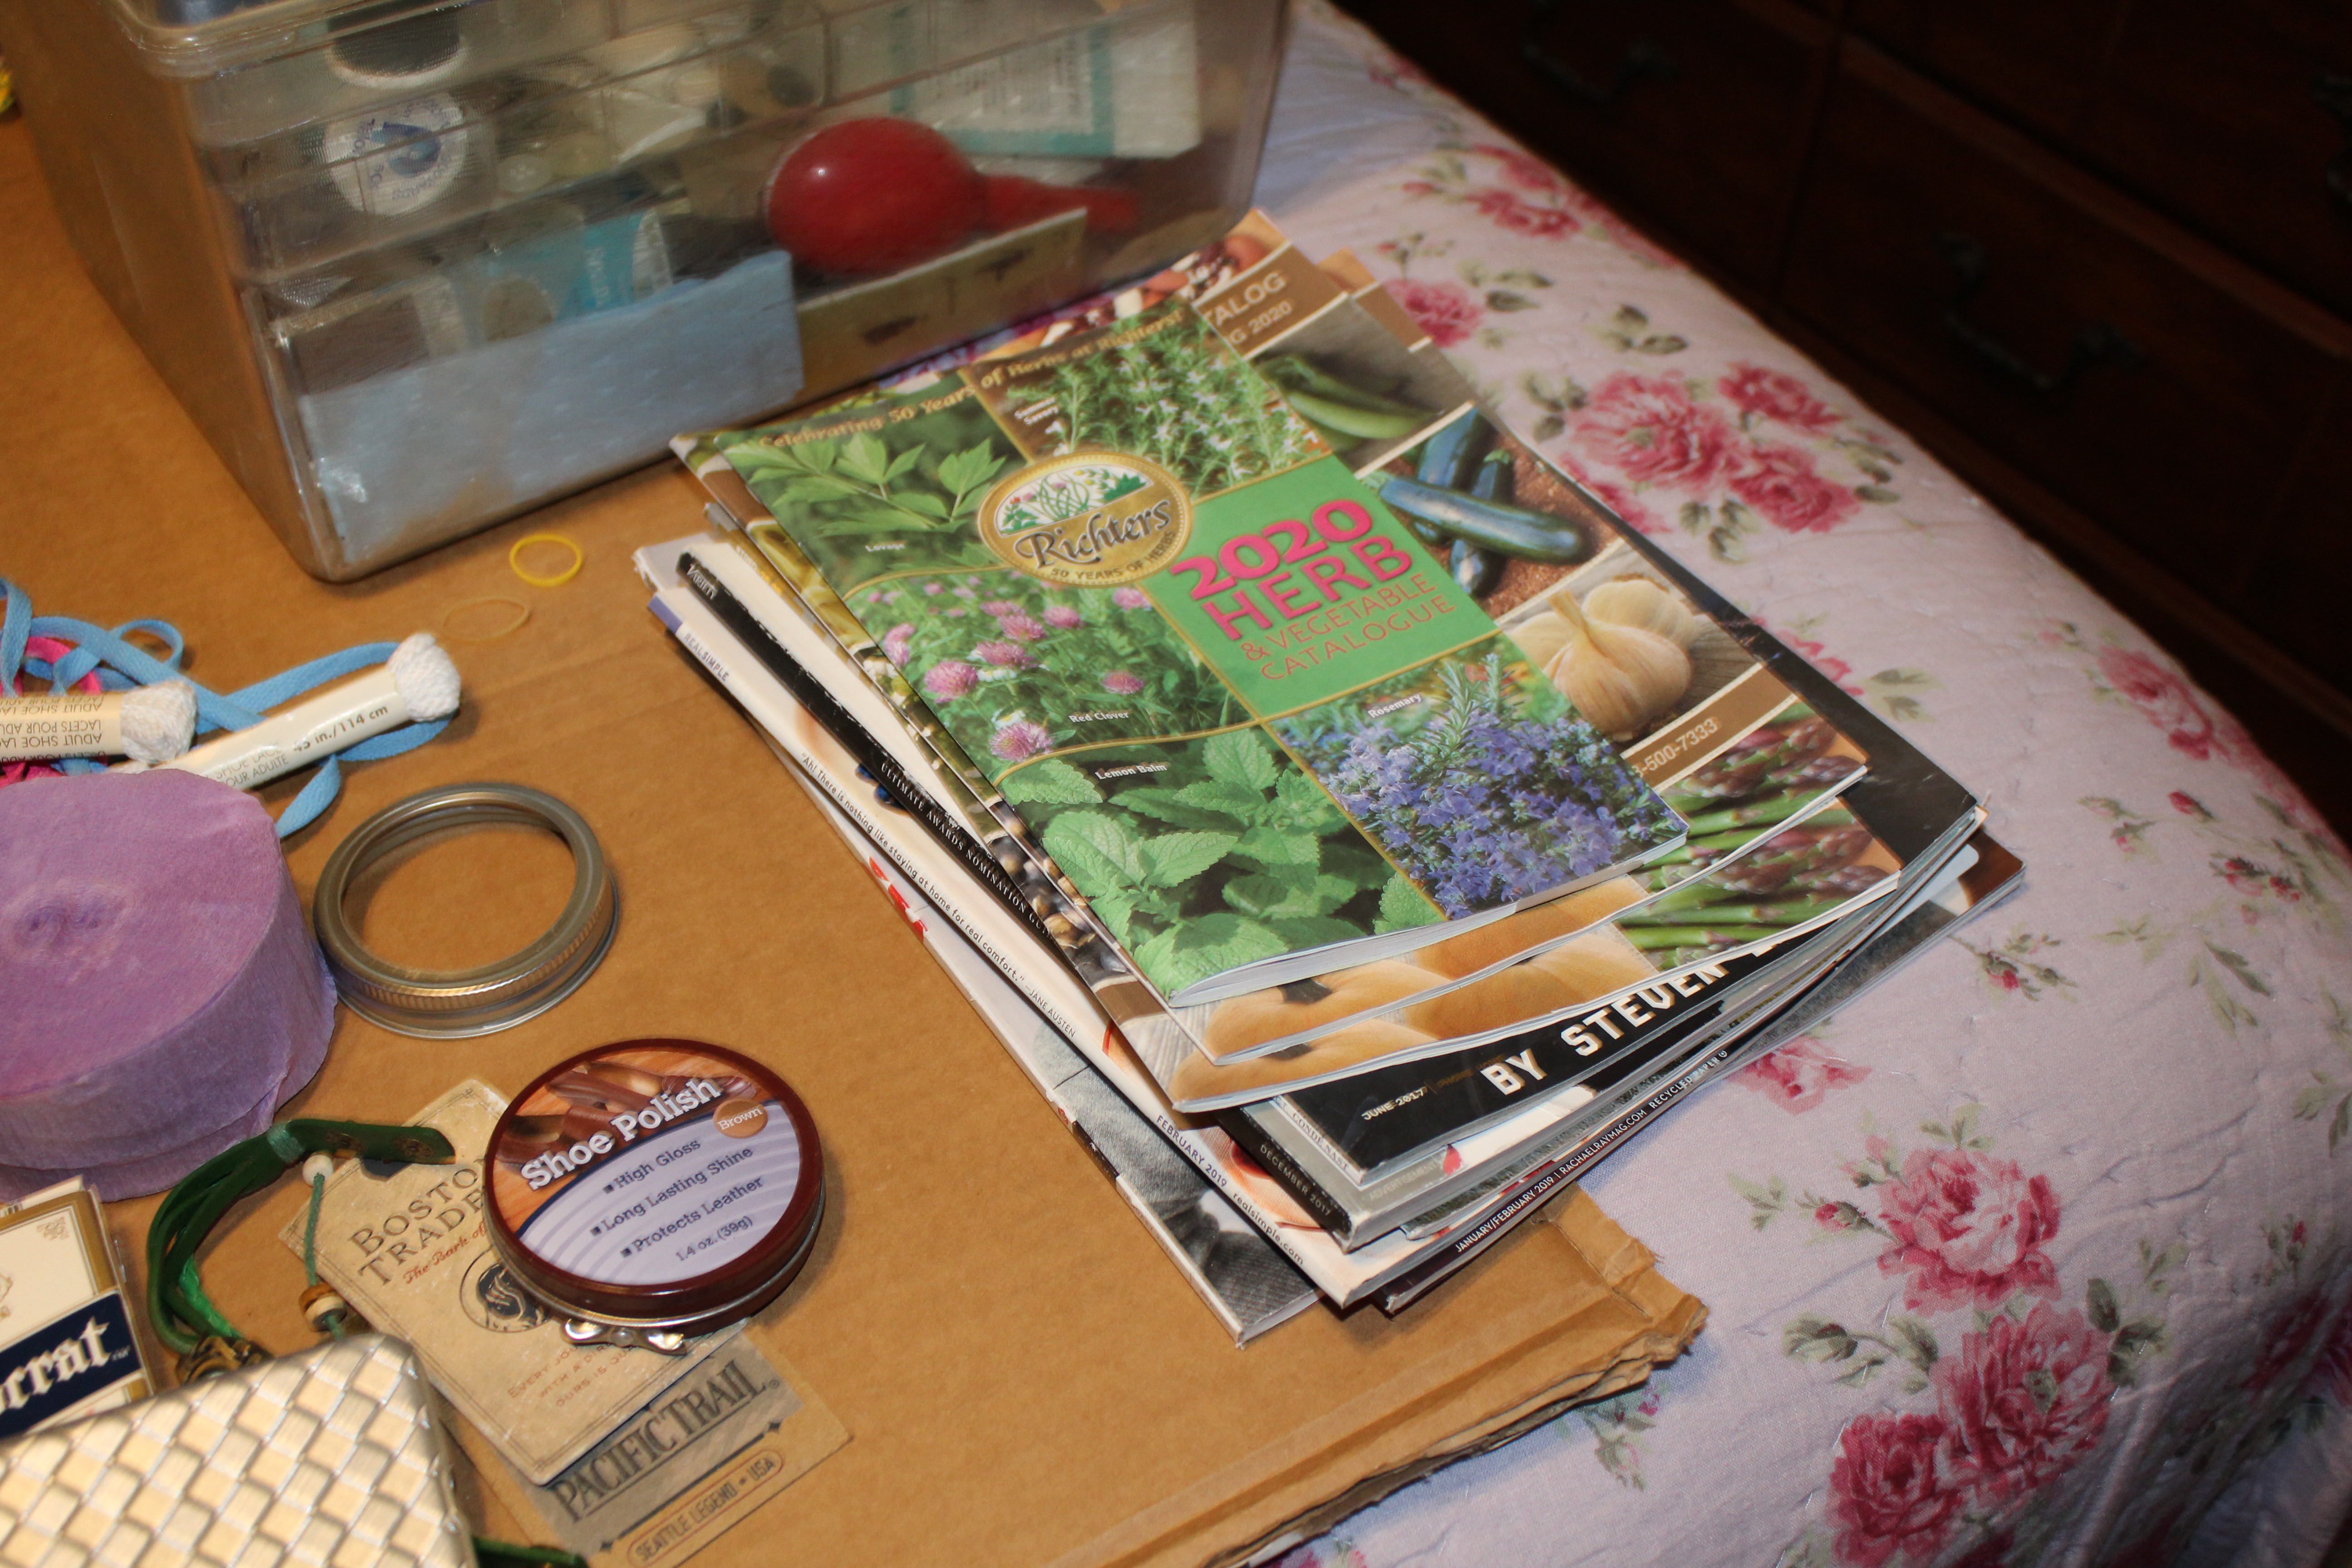
I have a month of free time and more supplies than I could ever hope to use. Don’t believe me? You might have seen similar pictures in a previous post. I have three separate areas I can craft in.

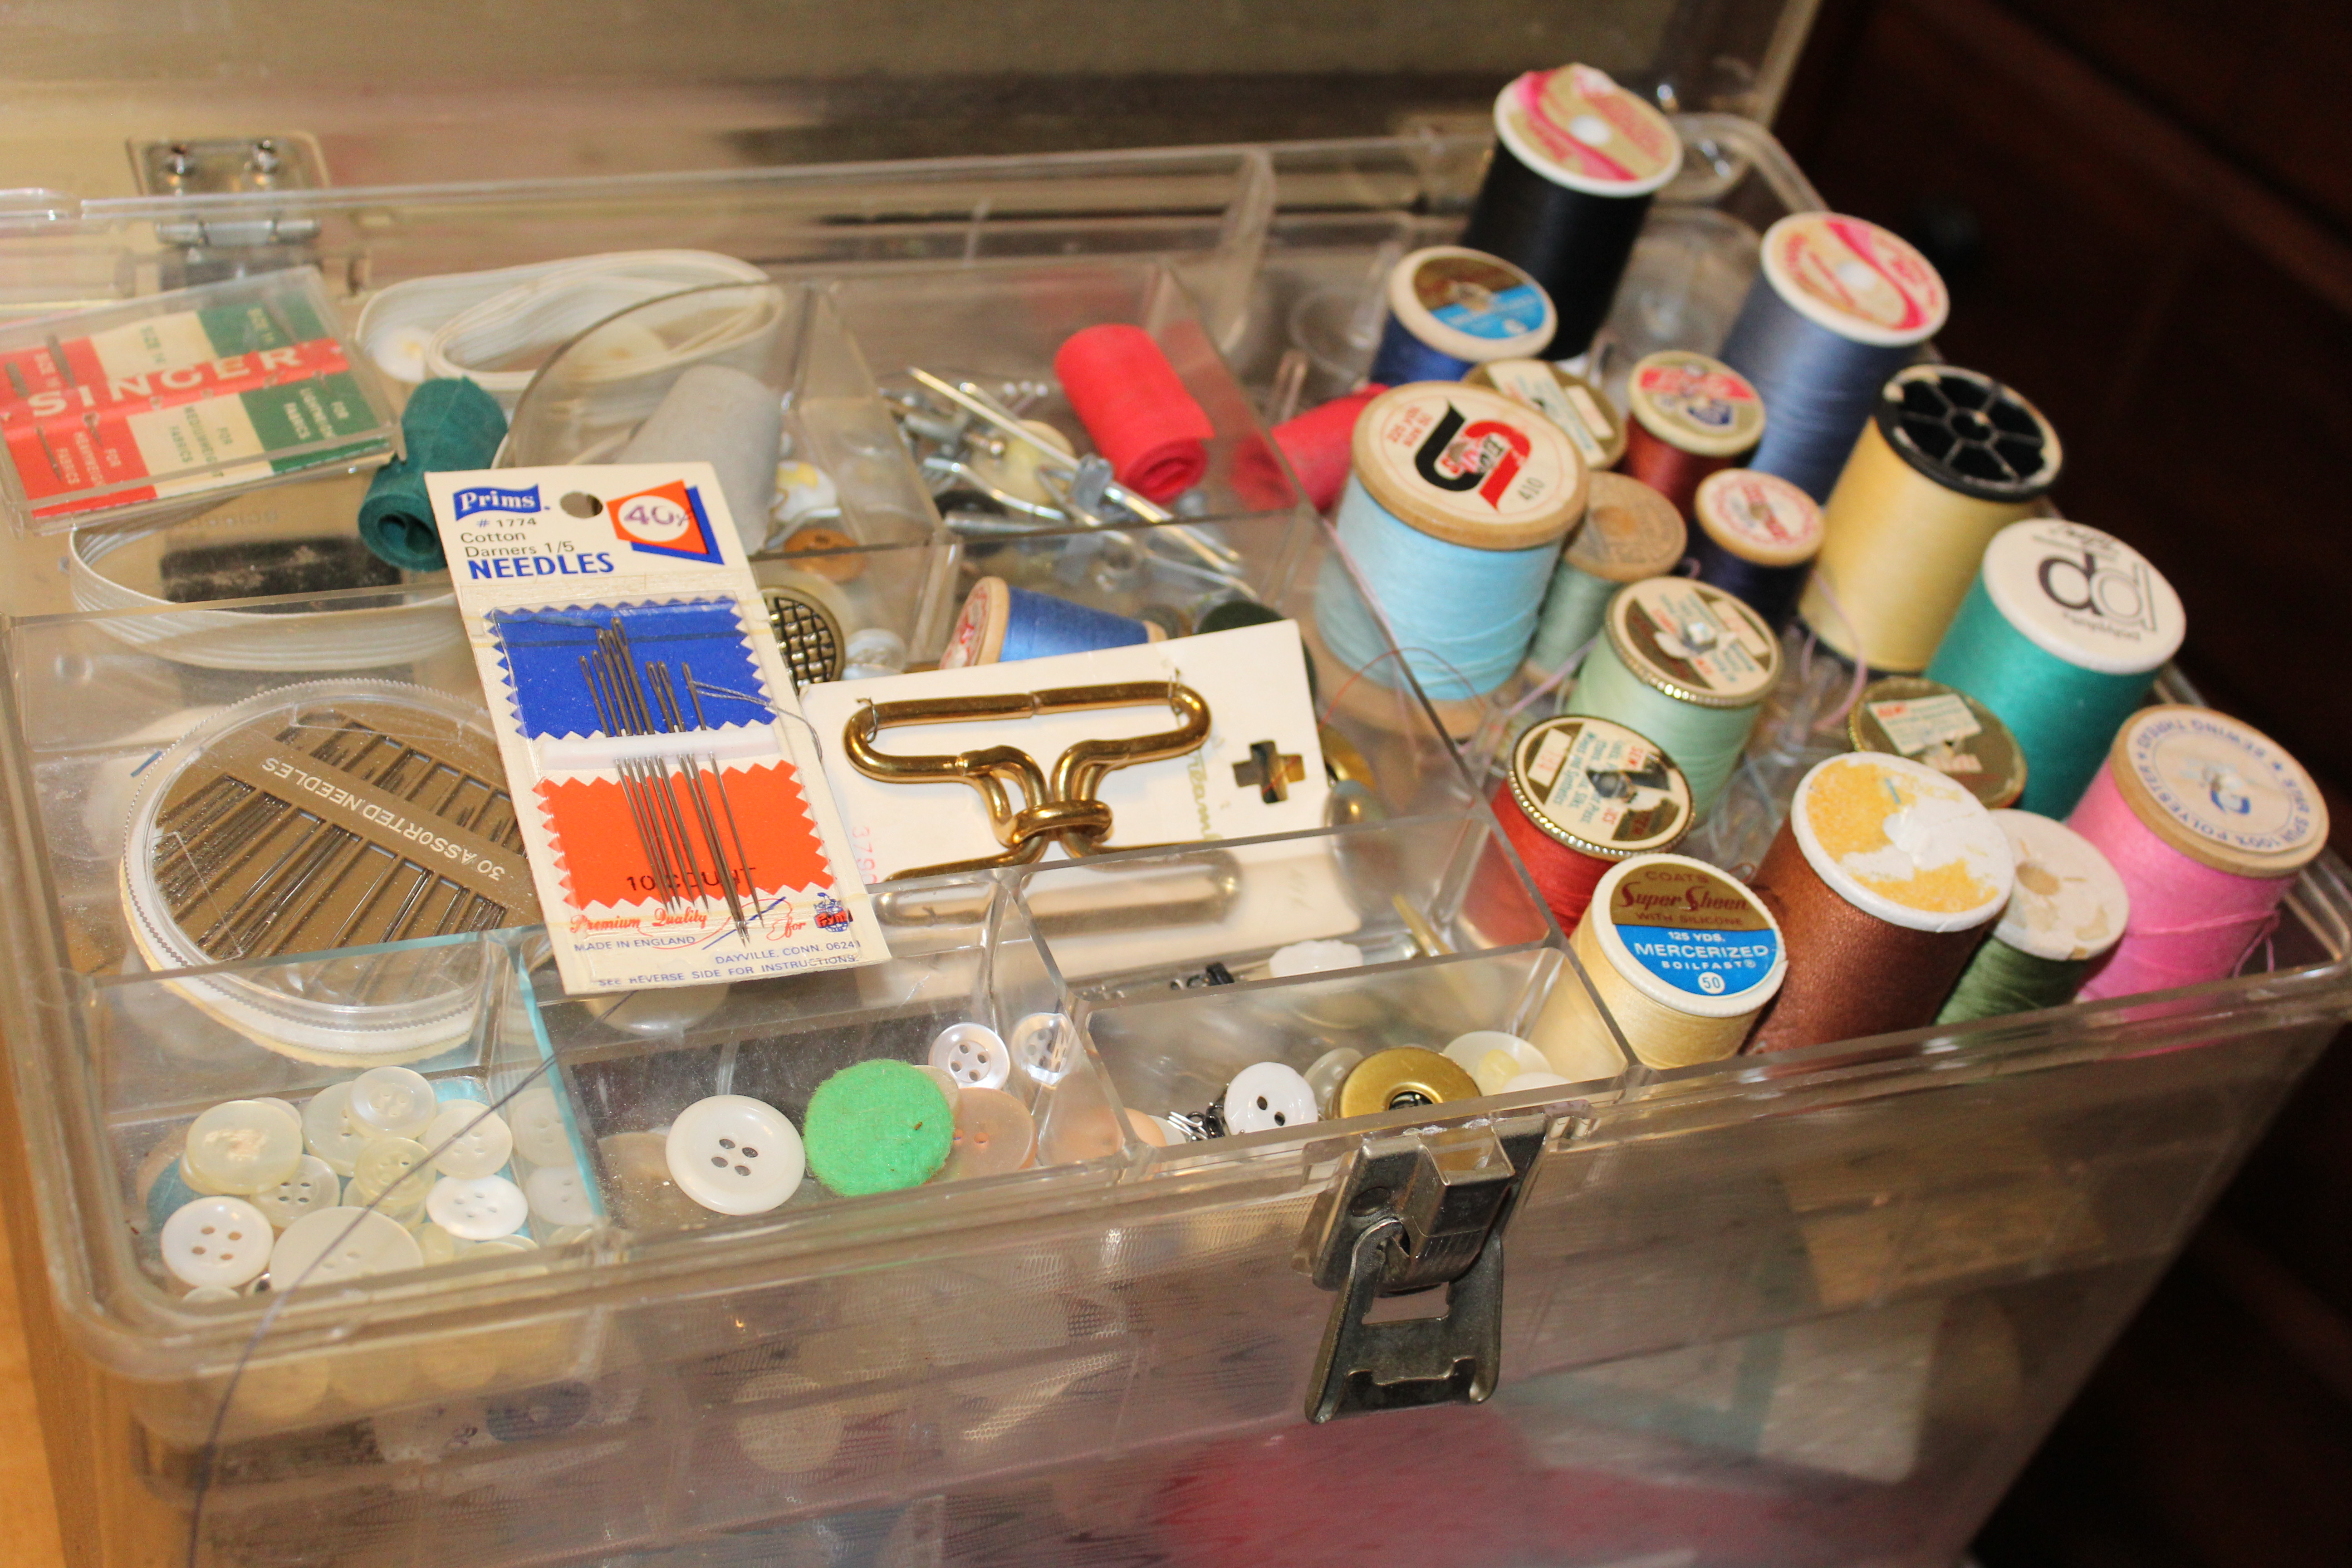
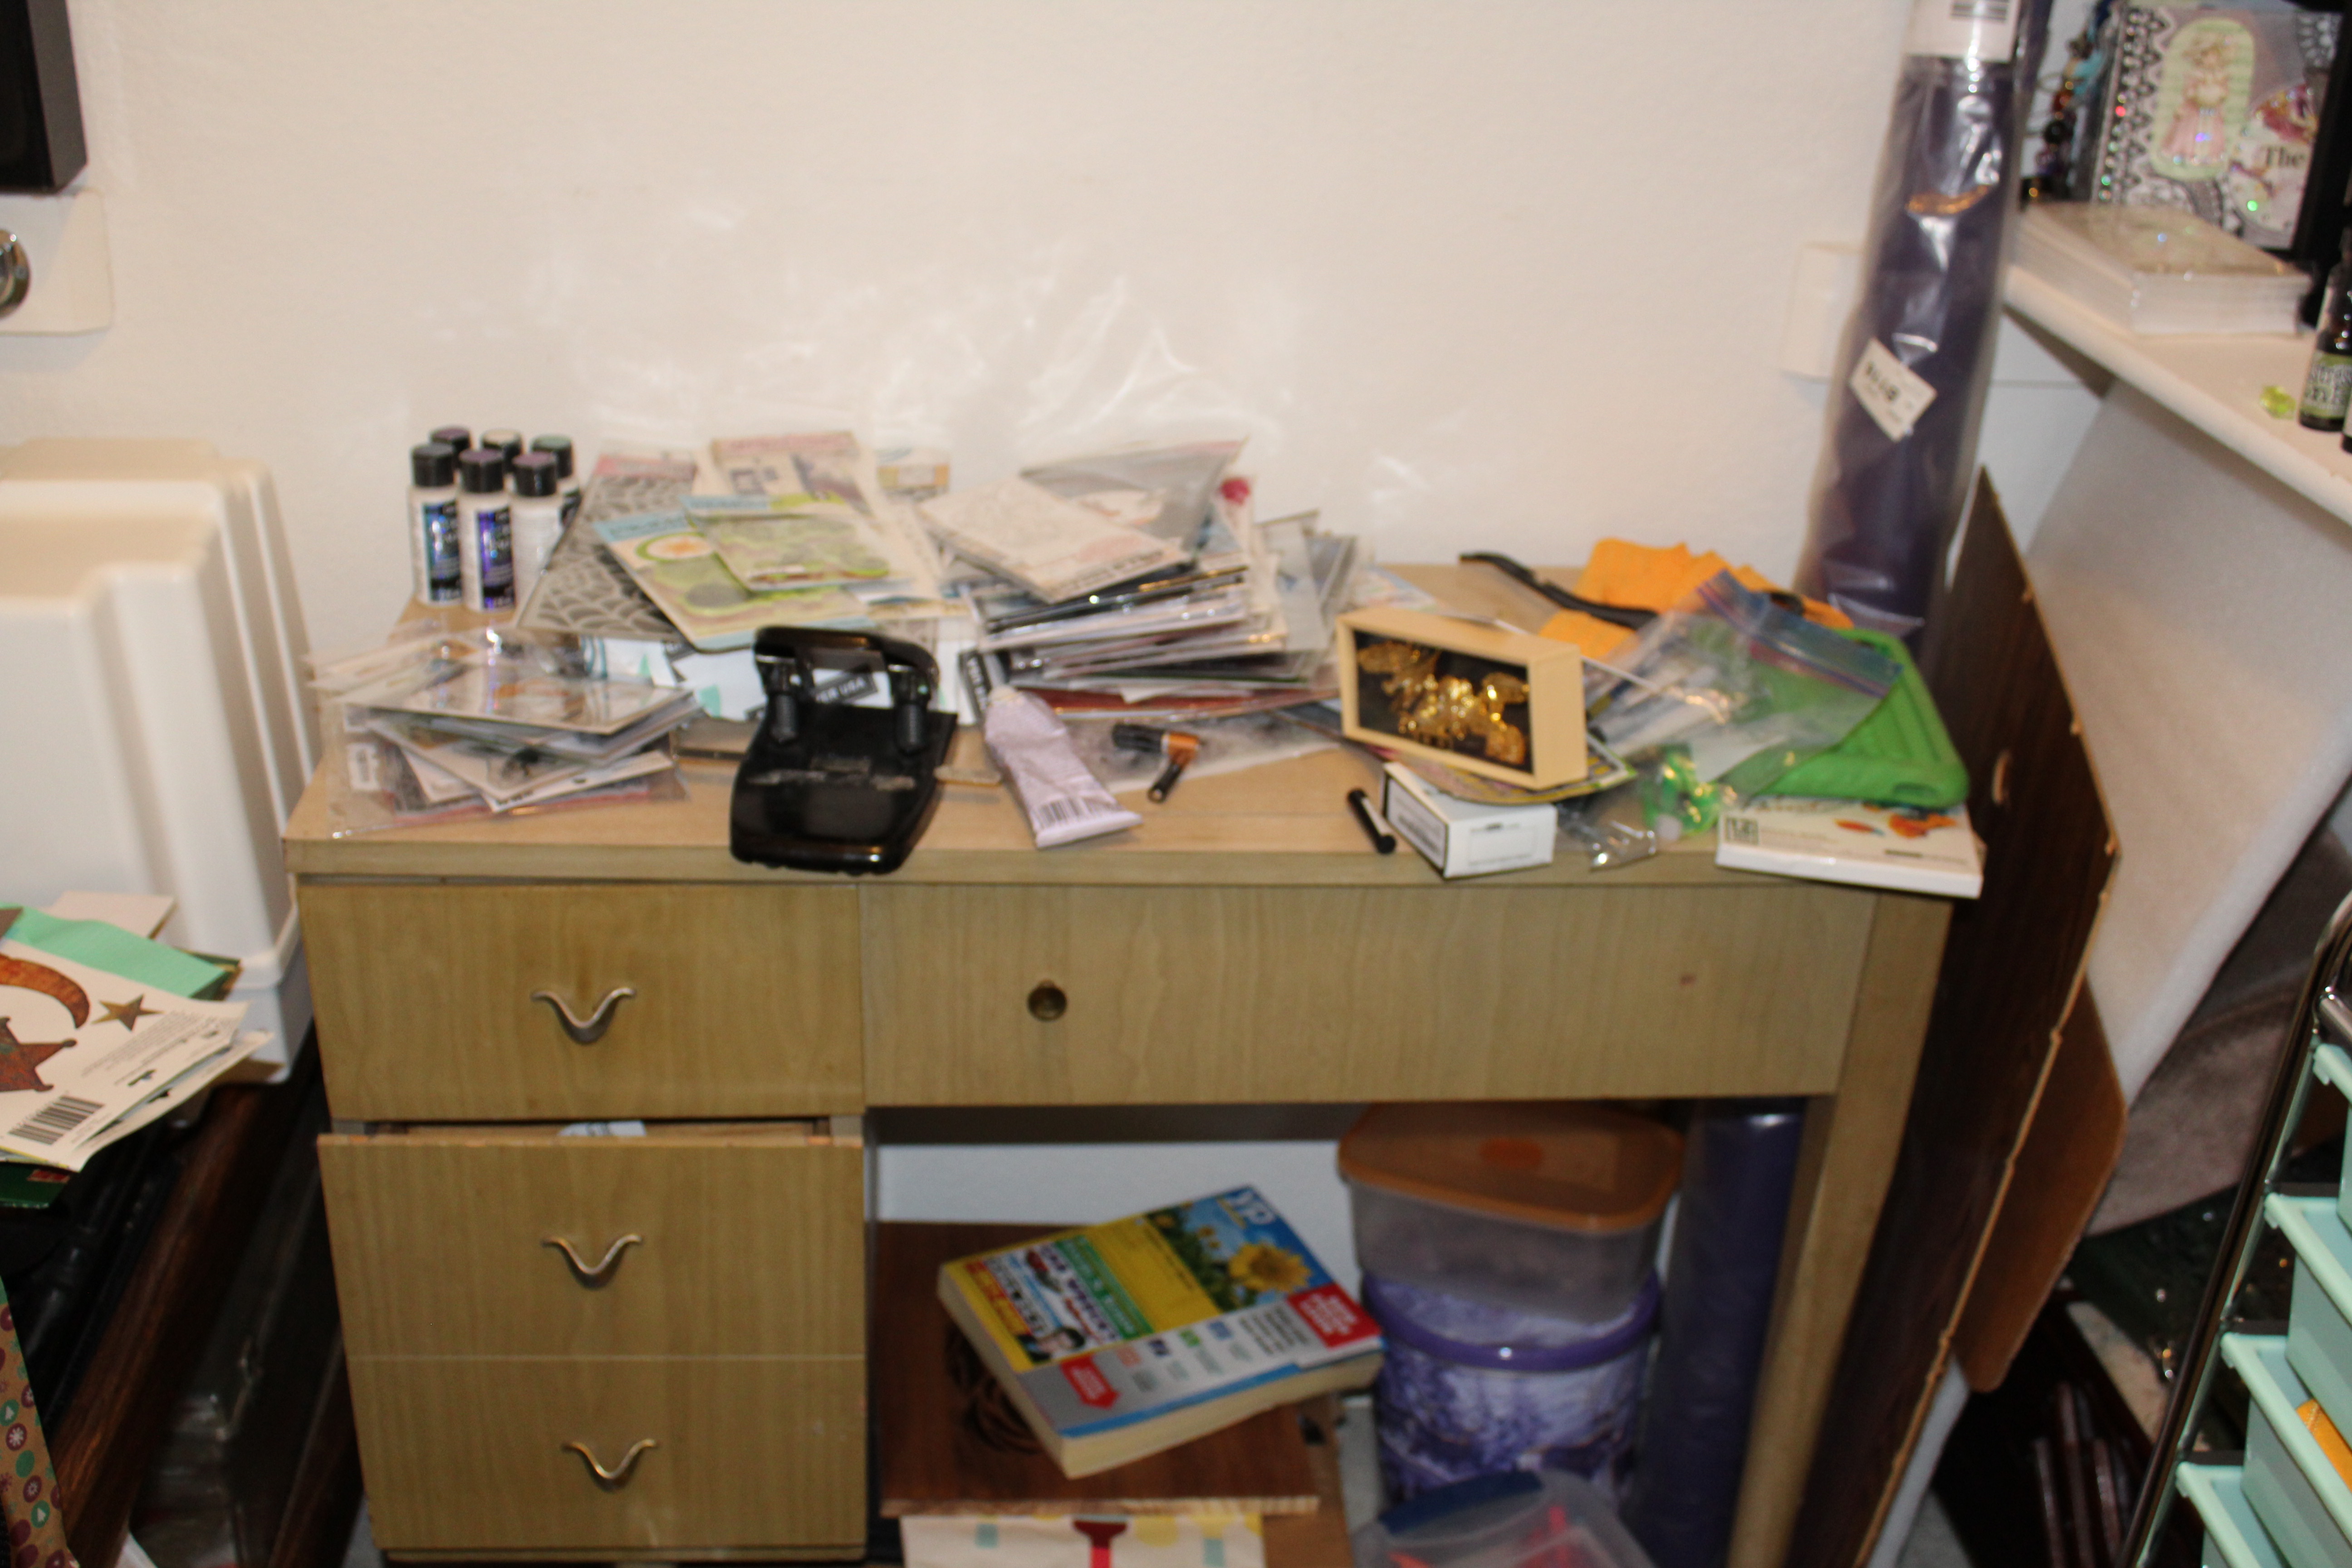
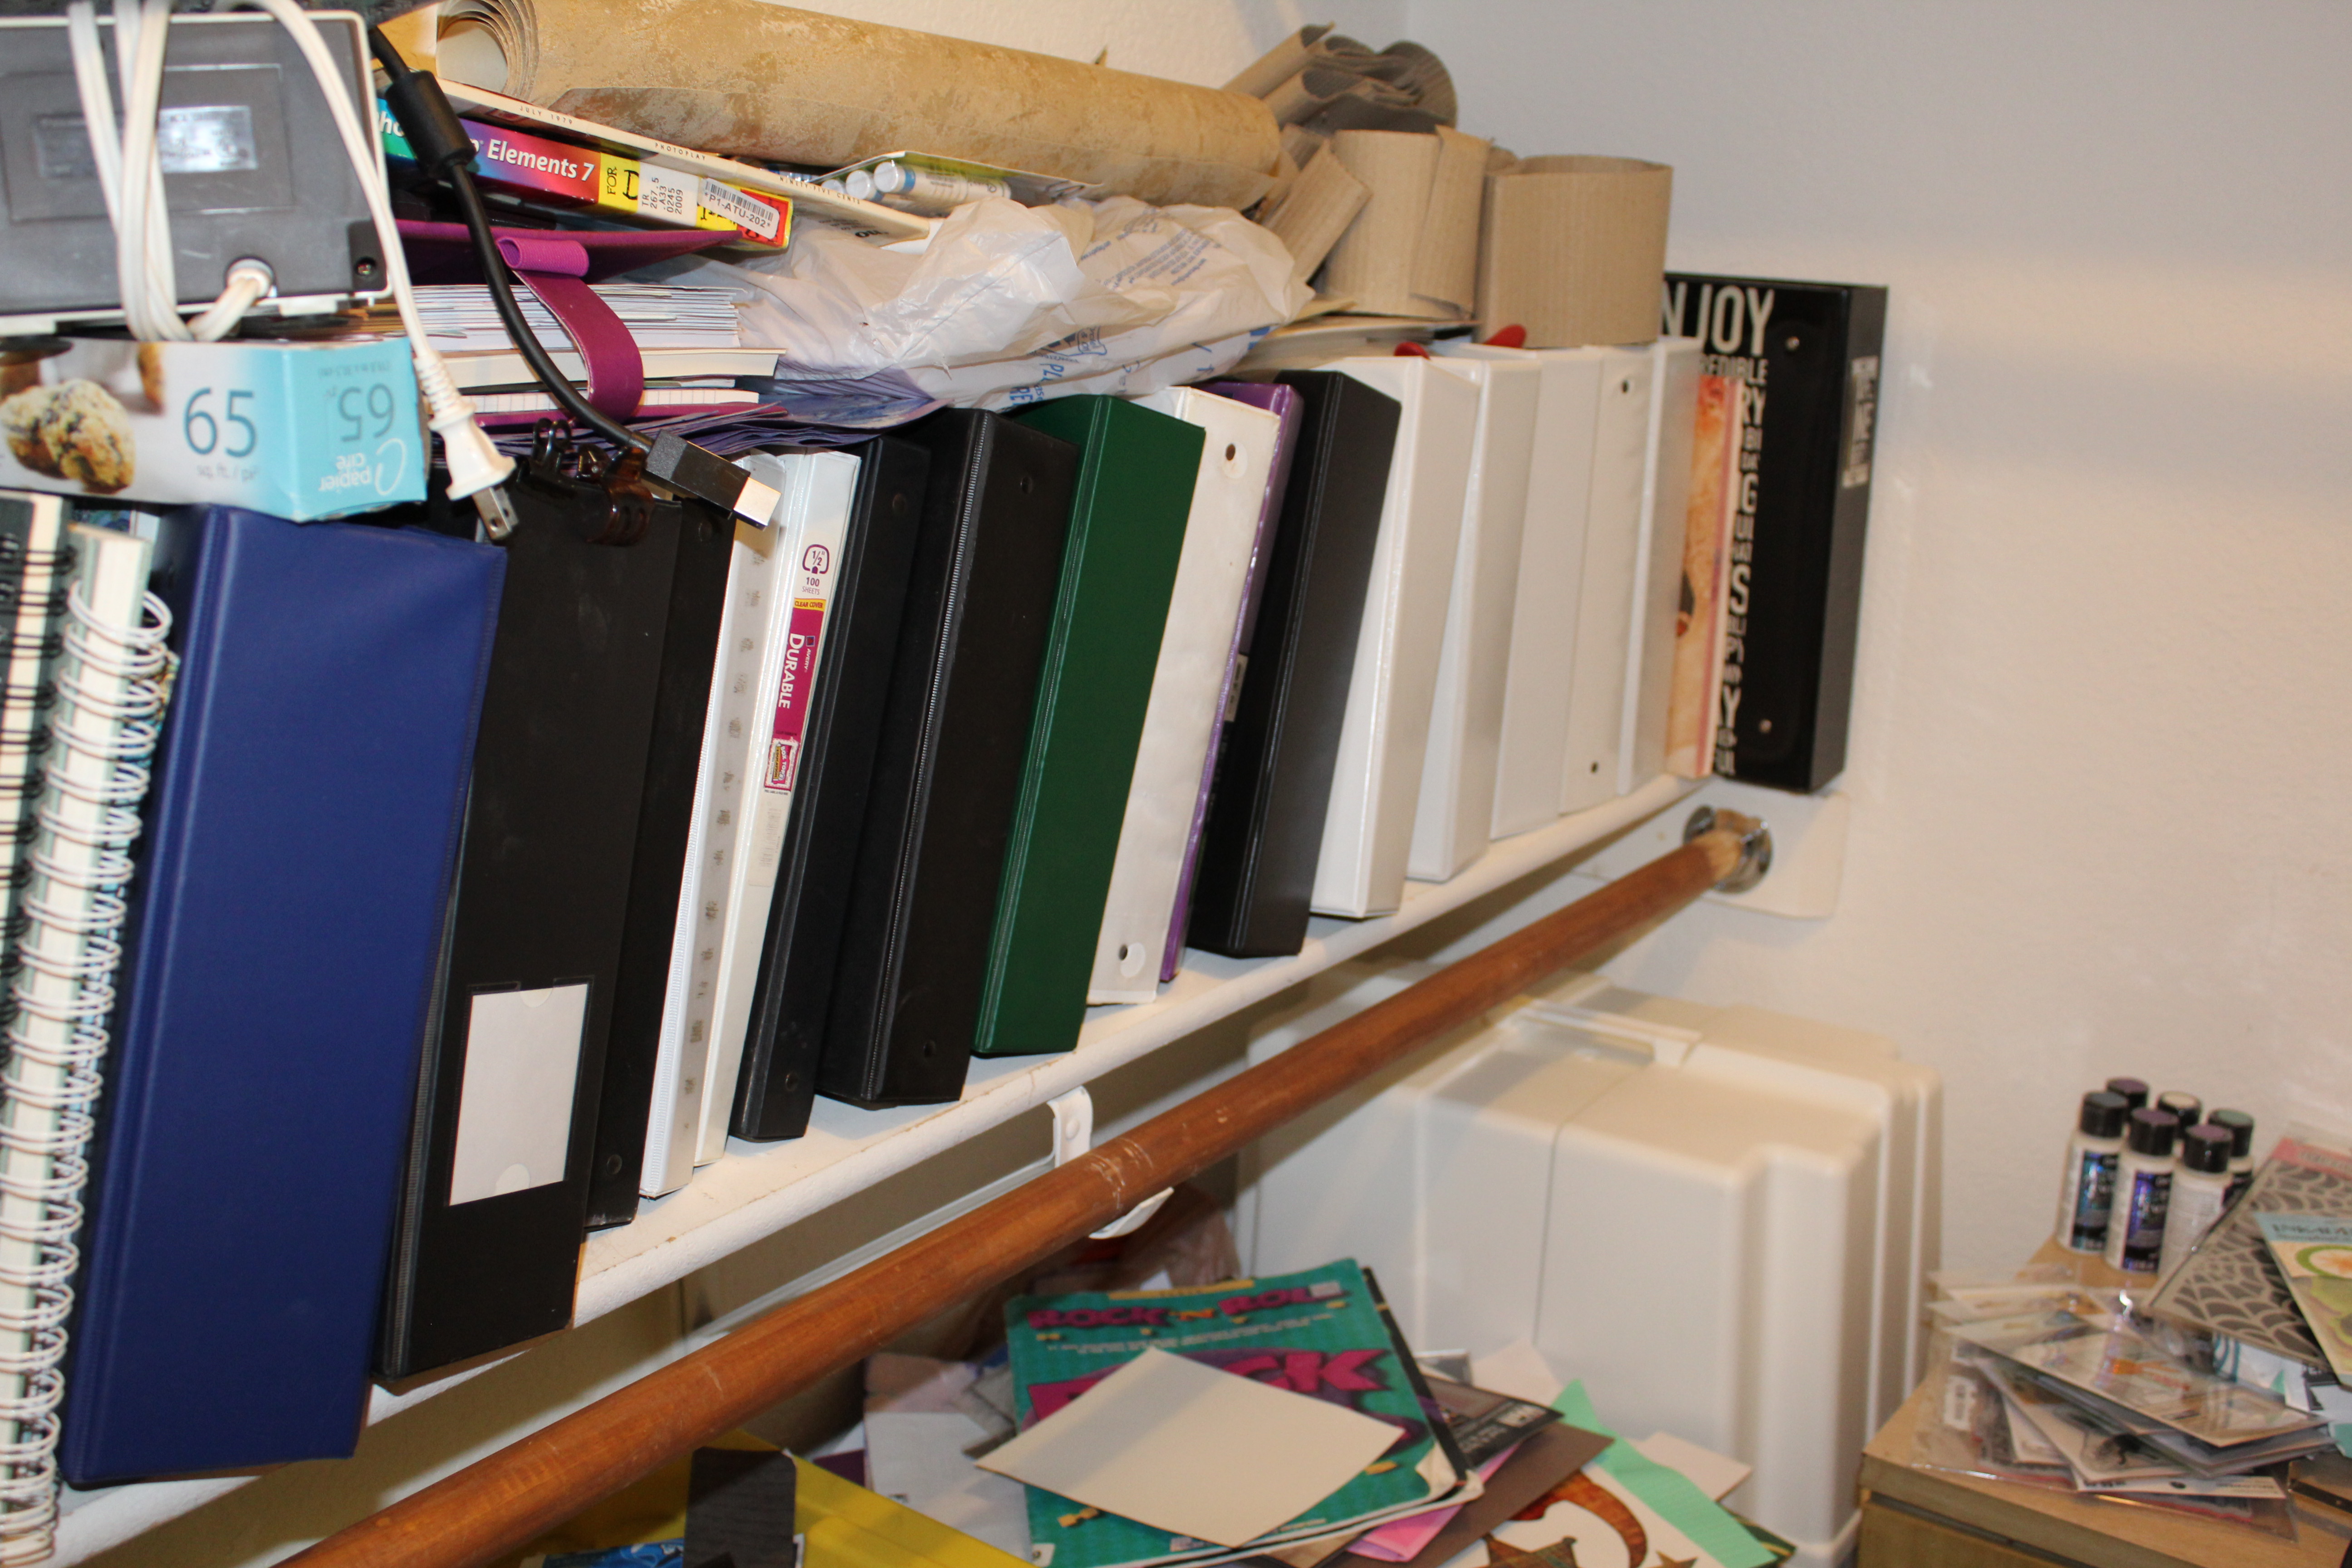
This is a closet I have all my sewing and rubberstamping supplies in. Currently, semi-organized. Most of the binders are full of stamps and stencils.

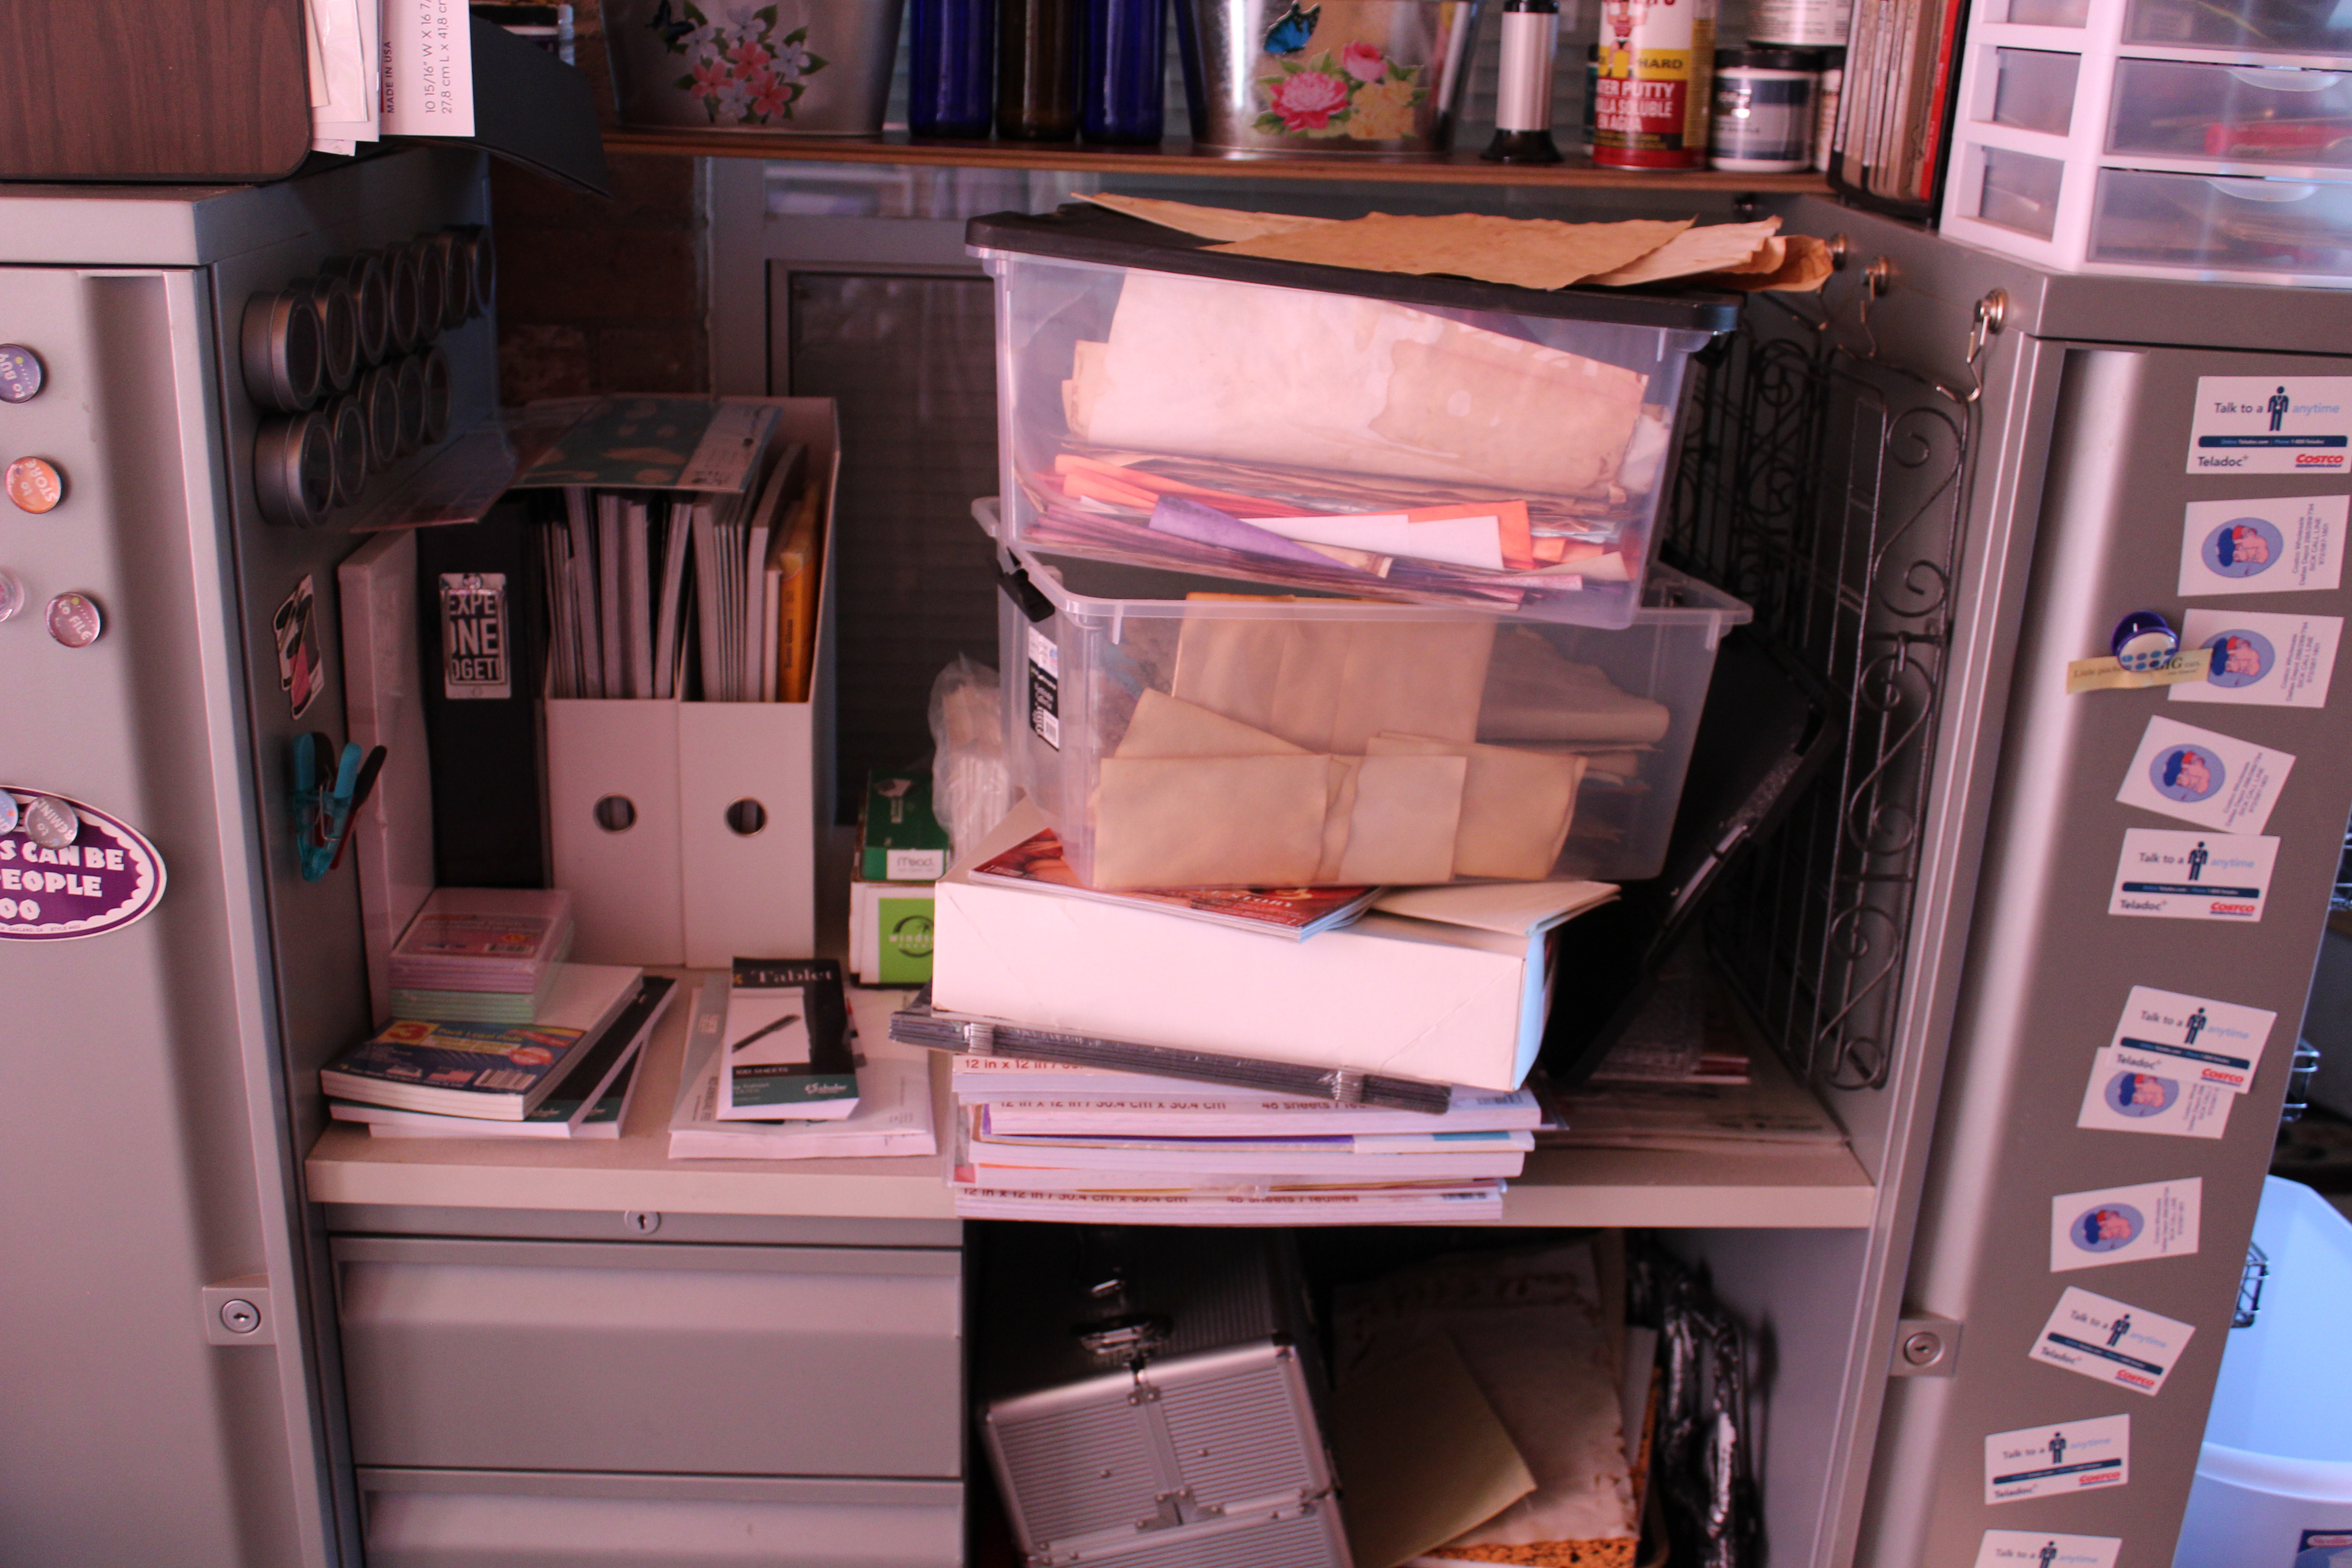
The next three pictures are of my converted patio. The entire space is dedicated to my crafting, now that I have the exercise equipment in the garage.

The third area is my office/guest bedroom. It houses my 3 printers, Dan’s 3d printer, my Cameo, and my desktop PC. Plus more supplies.

My first decision is a complete halt on buying anything else craft related.These pictures are only a tip of the iceberg. Second, no deadlines. Giving myself a time limit is the surest way to stifle my creativity. That is why I don’t do swaps and challenges anymore.

On my youtube channel and this blog, I started a series where I gave myself all kinds of constraints as a challenge. That did not work out, and I promptly abandoned it without an explanation. I sincerely apologize to anyone who wanted to follow along. So this time, I am just going to take it one day at a time, and see what happens. I will document it here, and do a flip through on youtube. On my own time table.

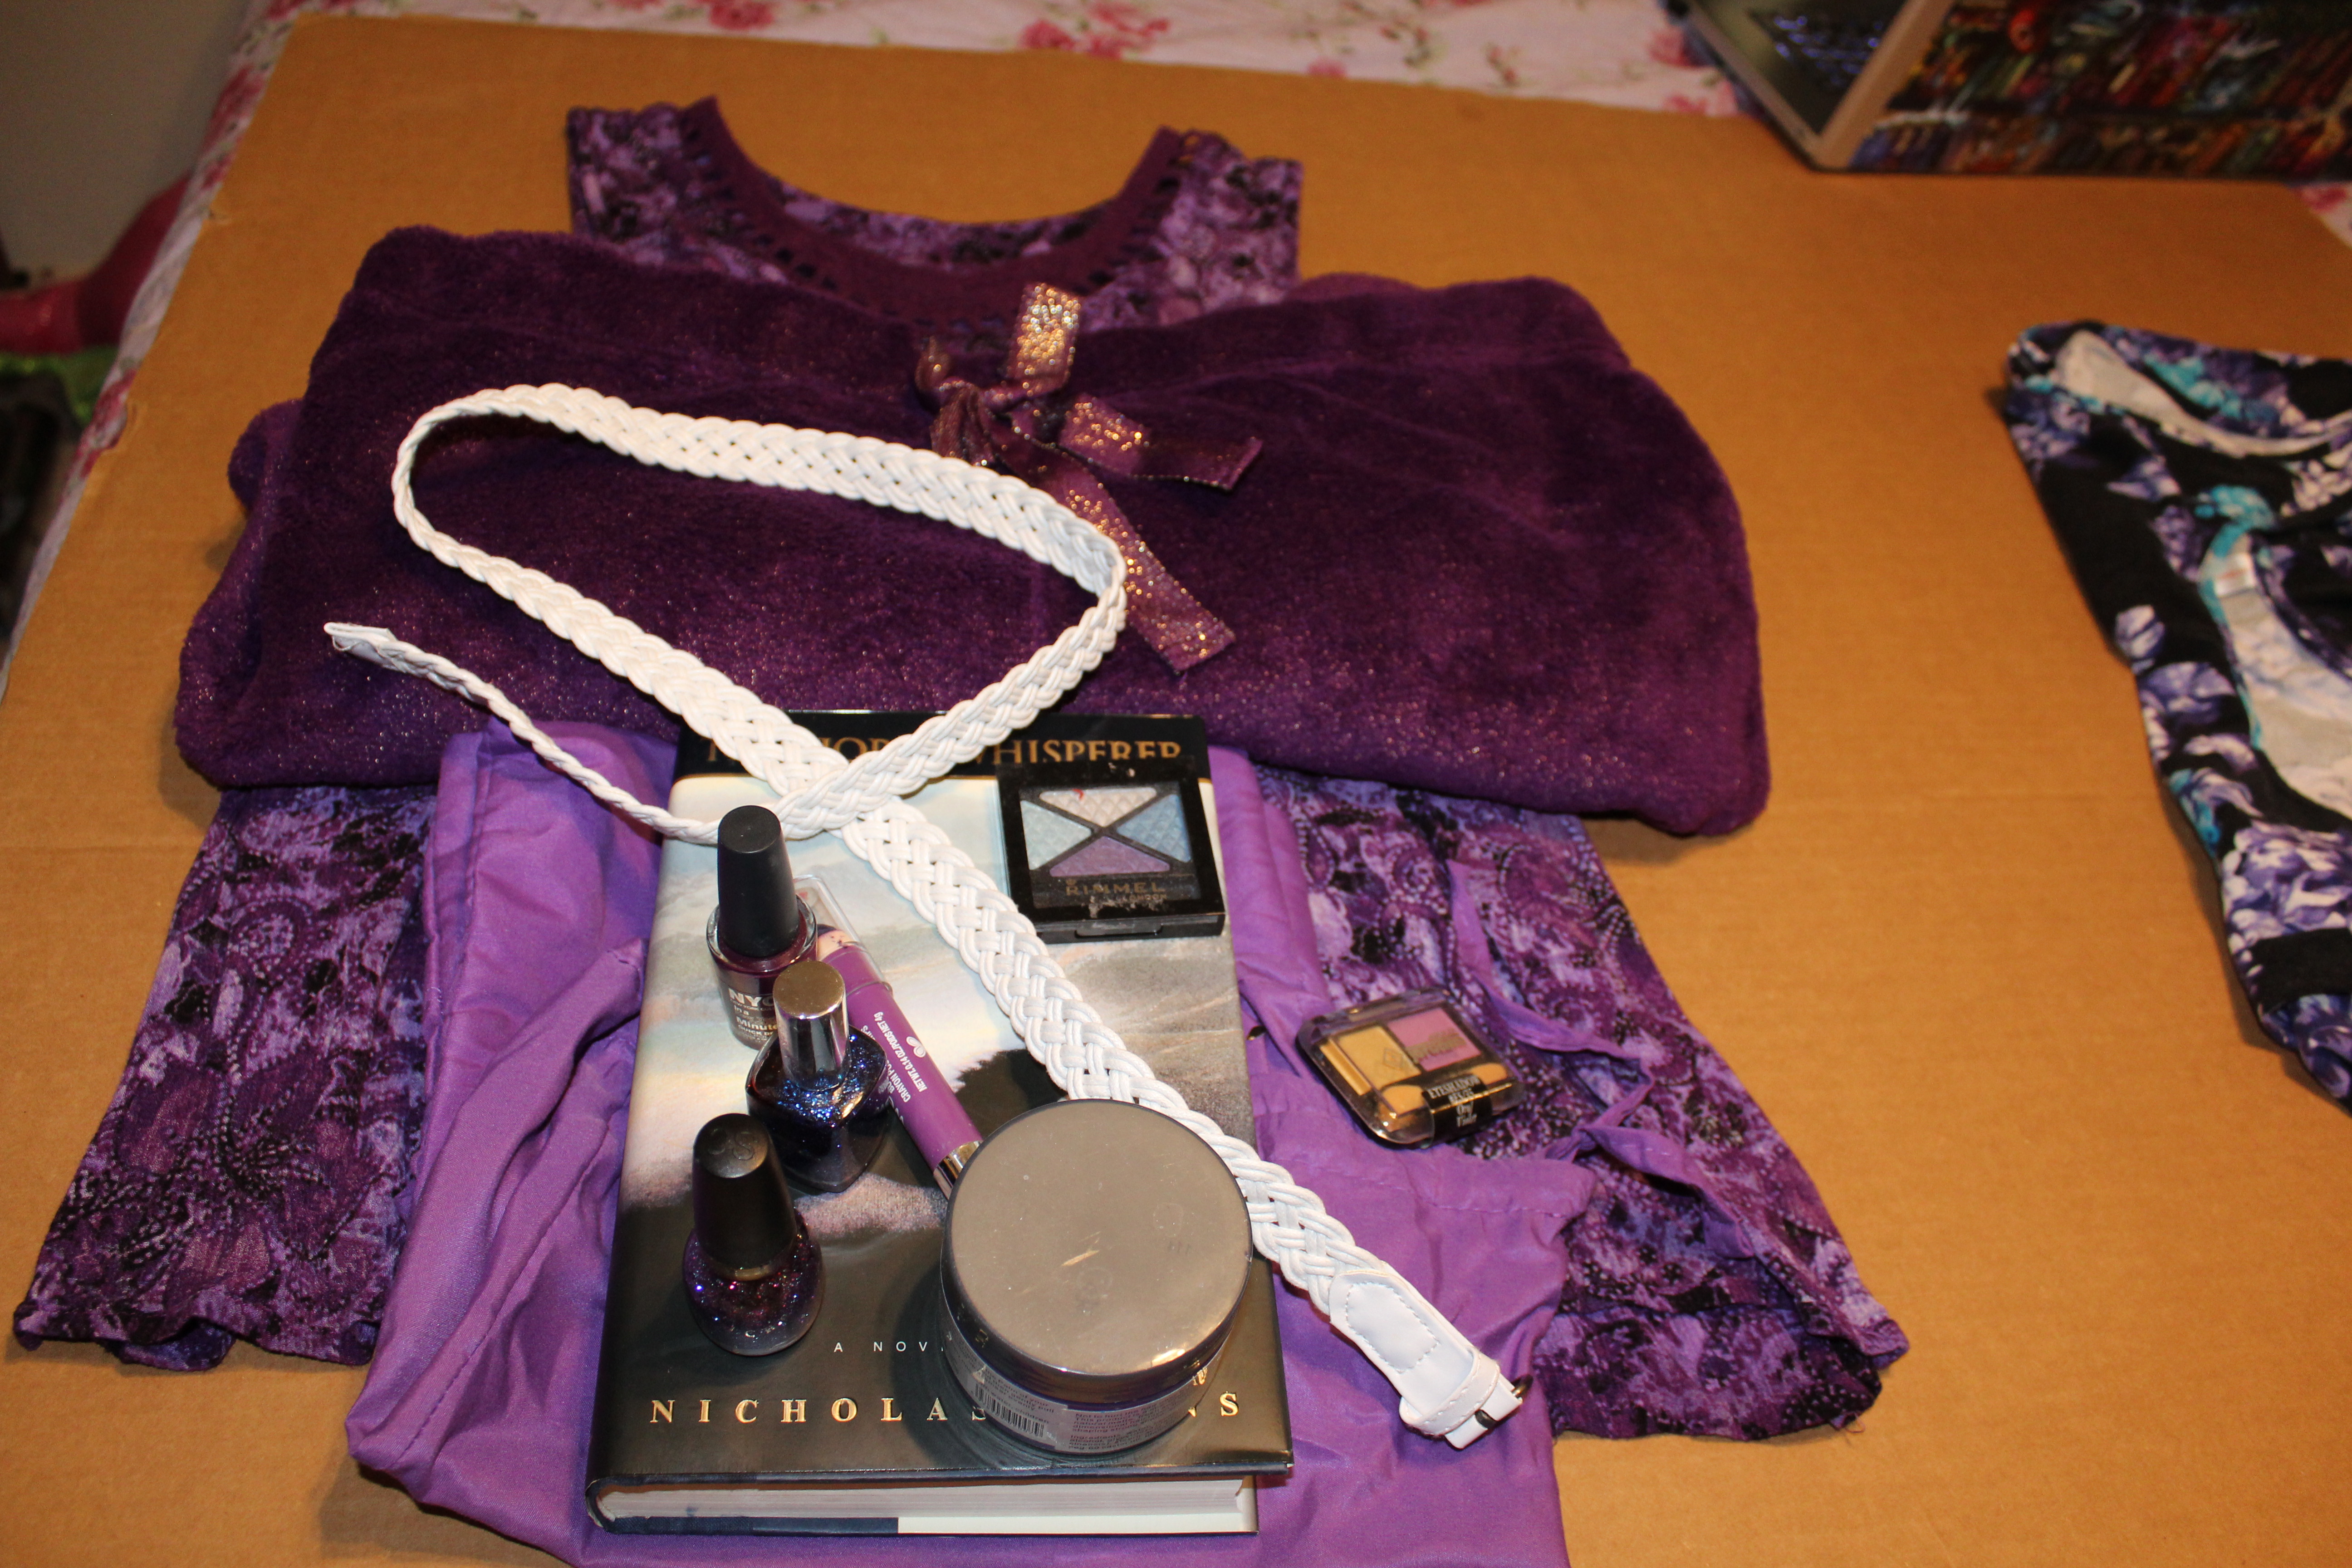
My first project is a lap book/journal thingy I owe a friend. Then I have a very grand undertaking for another friend. Then 2 more friend projects, lol. I am using all my friends as motivation. Hopefully, they will enjoy the finished projects and I will gain enough experience to make something I can sell. I hope you will check back to see my progress, but if you are not as optimistic as Sally I understand.

Advertisement

No Spend JJ–Dying Paper

One of the first things you need to do when creating a junk journal is decide what kind of paper you are going to use. In my last challenge post, I showed you the copy paper I am using.

IMG_2546

This weekend I dyed it in several colors.

First, I took one package of grape flavored dry drink mix and added it to 1 1/2 cups of hot water from the tap. Then I put about 50 sheets of paper(I didn’t count it) in a 13 x 9 baking pan and poured all of the liquid over it.


IMG_2549

I also mixed up some blue using half a bottle of blue food coloring.

IMG_2545

I let them sit for about an hour, until most of the liquid was absorbed. Then I seperated them out on a table outside to dry in the sun. It was windy, so I weighed them down.

IMG_2559

I also did yellow and red,although those are not in my journal color schemes. I mixed red and blue to get a different shade of purple. I also coffee dyed some. The weather turned rainy, so I ended up drying most of it in the oven. I simply put the whole stack of one color on a cookie sheet and placed in the oven at 200 degrees for a few hours. It wasn’t completely dry in the middle so I spread it out on my dining table til the next day.

IMG_2566

I stacked it all up, and put it under a few heavy books to flatten overnight.

IMG_2565

IMG_2569

I now have a colorful stack of paper for my journals! Here are a few of my favorite sheets. Some were dried in the oven on a pizza pan with holes in it. The yellow and red and green are food color. The lighter purple is drink mix and the darker is red and blue food color mixed. The last is coffee dyed. I ran an extra cup of water through the pot after my husband  was done drinking coffee for the day. By layer them in different directions while wet, you can acheive some great designs.

IMG_2595IMG_2596IMG_2597IMG_2598IMG_2599IMG_2600

Next post, making my first cover and adding signatures.

What I did Last Summer–Wax Paper Dying

Last summer, the big craze in my crafting groups was dying wax paper. So I decided to give it a try. I made a video about it to accompany this post.(link at end)

Supplies you need

Wax paper

Liquid fabric dye-I used Rit

White vinegar

A pan for each color of dye-disposable aluminum or one you dont mind getting stained

Boiling water

Bucket of cold water to rinse

A place to put the paper to dry-I strung some twine and used clothes pins to hang them like laundry.

I took 12 to 14 inch pieces of the wax paper and crumpled them.

Screenshot 2020-03-31 19.00.53

Then I prepapred my dye, using 1 part dye to 2 parts vinegar. I added enough water to fill my container half way.

Screenshot 2020-03-31 19.00.30

I submerged the paper balls in the dye, then after about 15 minutes I turned them so they would be equally dyed.

Screenshot 2020-03-31 19.10.50

After another 15 minutes I rinsed them in cold water.

Screenshot 2020-03-31 19.12.09

Then I hung them on a makeshift drying line.

Screenshot 2020-03-31 19.12.22

It was a hot windy day and they dried quickly. After they were dried, I  ironed them between 2 sheets of parchment paper. Here are some of the colors I ended up with. The yellow was very light, I think next time I will use more dye and leave it to soak for a longer time. I used both synthetic and original dyes. The two blacks(one is not shown) had different base colors one more blue purple and the other more reddish purple. The coral and red were very similiar in color(red not shown).


I am planning to do more soon and will post the different colors I use. Please check out my video on Youtube.


No Spend JJ Challenge Part 1- Gathering Supplies

Last week I gave myself a challenge to create a junk journal using only non craft supplies I could find in my home. I cannot use anything I bought specifically for crafting.  (See my previous post for more details.) Today I started gathering my supplies. Before I show you what I ended up with, I should tell you a little bit about myself.

I am fortunate enough to have a well paying job and so does my husband. We are not rich by any means, but we are not struggling to pay the bills.  So I can afford to buy any craft supply I want or need. I have my own craft room. Yes, it is a bit messy.

IMG_2528

IMG_2529

IMG_2530

See all those plastic containers? They are full of scrapbook paper. Paper I just had to have and yet never used. My impulse control is not existant. So why am I trying to make a journal with non craft supplies?  Because the basic premise of a junk journal is to use junk to make it. Scraps and found objects, things one would normally throw away. There are tons of videos and blogs about crafting on a budget, but what if you have no budget at all? The idea kept gnawing at me and so I came up with this challenge.

I want this blog series to be inspirational and informative. I know not everyone will have the same  supplies I do, so I will try to suggest alternatives where possible, and use only readily available items. I will also be showing some DYI supplies that can be made with a few ingredients from the kitchen.

The Supplies

Once I got started, I realized I could make several different types of journals with ease. I ended up with three different color themes. My favorite color is purple, so of course I have lots of purple items to choose from. I chose a hard cover book for my cover.

IMG_2480

Then I chose teal, because I have been into that color lately. I am using a three ring binder for the cover, something I have not tried before.

IMG_2491


Finally, I found a lot of brown items, and since I already have coffee stained paper( not cheating, more about that later) I decided that would be my third color. I will be using a reusuable shopping bag and a cardboard box to make the cover for this one.

IMG_2469

I will be doing individual blog posts for each journal and I will be more detailed on the items I am using. Here are the rest of my items that I will use for all the journals. First I have my office supplies. I feel like most people should have the majority of these items in their homes already. The nail is my pokey tool. The glue stick is my cheat item.

IMG_2512

Next is my paper dying items. The instant coffee I bought from Dollartree just to dye with, so I am not using that per my rules, but I included it for inspiration. Dan brews a pot daily and there is usually some left over. It doesn’t take much. We make iced tea, so that is always in the cupboard. Tip: save the bags after you brew , dry them and dump the tea in your flower bed. You can see some under the food coloring. The bags have many uses. I have grandkids, so I keep powdered drink mix on hand. I always have food coloring on hand too for cake icing.

IMG_2504

Blank paper is not a necessity, junk mail is great for writable space! This is the paper I am using. The coffee dyed paper I mention earlier was from this pack, bought at Walmart.  Just paper dipped in leftover brewed coffee and dried. I had some on hand so I used it for the picture, but I will be making more. This is what I use in my printer. I also found an old spiral I had. I write fiction as a hobby too, and once tried to write long hand. It did not go well and this spiral got shoved in a drawer. Now it will find new life! I will be dying the paper to match my color scheme for each journal. I know some of you may not have  a printer, so no printer paper.  If you want to buy some, Dollartree has small packages, but the most cost effective is the big pack at Walmarts. The same with notebook paper.

IMG_2537

Paper towels and toilet tissue  with glue are great for creating texture.

IMG_2514

I found a bag of leftover Halloween makeup and costume jewelry, plus a bag of odds and ends makeup stuff my daughter gave me.

IMG_2516

I shop at Costco,(I work there too) so I have the big packages of parchment paper and foil.  I don’t use wax paper in the kitchen as much, so it is from Dollartree. These are from my kitchen. Not going to lie, I have the same items in my craft room too, but I do use these for cooking.

IMG_2536


From the garage, I am swiping some of my husbands things like paint and wood glue.

Magazines and catalogs and junk mail. I have so many magazines. Most I got for free or greatly reduced subscriptions. You can go online and request free catalogs.

IMG_2518IMG_2517

And then there is the miscellanious stuff.

IMG_2515


IMG_2513


Last but not least is the sewing basket I inherited from my mother-in law. I will be using the needles and thread from it, and maybe some seam basting and buttons.

IMG_2505

There will undoutably be more items added as I come across them, plus the DYI things. I am a border line hoarder, especially since I started making journals, but nothing here is something I would not have anyway. I tried to gather more than I would need, to give you an idea of options.

I hope you will join me in this challenge!


Junk Journal Challenge

Quite awhile back I became obsessed with junk journals. It started when I discovered pocket letters. If you don’t know what that is, let me explain. You take a trading card protector sheet that has 9 pockets and decorate each slot with paper and ephemera and such. Each pocket can be different or you can have a theme for the whole page, such as a holiday. You can tuck little surprises inside the pockets too, like washi tape samples and tea bags. There are groups devoted to swapping these creations. I got into one of these groups, and then I found a site called swap-bot. That is where I learned about junk journals. I did a search on youtube, and the rest is history. I am now a junk journal junk addict. Or am I?

I spend way more time watching videos about making journals than I do actually making journals. And buying supplies. Every video I watch inspires me, I buy the supplies, and then I just don’t make the thing. I joined several Facebook groups, and I have made several journals for swaps, but overall I wasn’t satisfied with the final product. I keep telling myself, If I just had XYZ, my journal would be better. But the truth of the matter is, unless I start actually making more journals, I will never get better. Practise makes perfect right?

I decided to go back and watch some beginner videos. There are tons of them on YT. One of my problems I think is that when I started way back when, I watched the more advanced videos and thought I could make something similiar. I was wrong.

One such beginner video series I started is based on the premise of starting completely from stratch and buying everything you need with a 25 dollar budget. The purpose is to show that you don’t need a bunch of fancy and expensive supplies to start making a journal. This is a great series, lots of wonderful ideas, easy to follow directions. But it got me to thinking. What if $25 is too much money to spare? What if $10 is too much? Could you make a junk journal with no extra money spent using things you already had in your house? Non crafty items that were not purchased with a junk journal in mind? If you are reading this and are already a junk journal maker, you know what I mean. We pick up things at garage sales and thrift stores that we would not normally buy with the idea that we could use them in a journal . The more I thought about , I knew I wanted to try.

If you want to play along with me, the rules are simple. No craft items, like scrapbook paper, rubber stamps, specialty glues or tools. The goal of this challenge is to not only not spend any money, but to be as creative as possible and not just slap something together in a day and call it done,so no time limit. I have found that is the number one thing that hampers my creativity.

This is going to be a series, and and I will include pictures as I go along, but it is in no way a tutorial. I will explain what I am doing and how I am doing it, but there will not be super detailed step by step instructions. Or maybe there will be,lol. Once I get started, I might get carried away. If you have specific questions , I will be more than happy to elaborate, just comment and ask. I will probably do some short YT videos updates and a flip through video for once it is finished. 

The first step is gathering your materials , and they can be added to as you go along. Not everyone is going to have the exact same supplies, but anything you use has to be functional outside of crafting and already in your home or garage. For instance, I use a box cutter at work, so I have several laying around and can use one to cut. But I can’t use my Fiskars paper cutter I bought just for crafts. Likewise, I have copy paper for my printer, packing tape for closing boxes, etc. I can raid my husbands supplies for paint, stain, masking tape,etc. He is a carpenter by trade and is always making stuff for the house and yard. Office supplies, kitchen and bathroom items, make-up, cloth items,and junk drawer items are all fair game. This is an honor system challenge, and the fun is in seeing just how creative you can be. If you think something you have should be allowed, then use it! Think outside the box. Supplies for other types of crafting, like sewing , knitting , crocheting or painting should be used at your own discretion. I have a sewing machine , but I bought it for crafts, so I will not use it.  But I have a sewing kit I inherited from my MIL , so I can use the needles and thread. I think there are snaps in there too, so that is an allowable option. I don’t crochet or knit, but I do have yarn, so again, I am not allowing it for me. The only possible cheat item for me is a  glue stick. Liquid glue can make paper wrinkle, and I don’t want that and I have no other use for a glue stick other than crafts.  Everything else I have or can find a good substitute  for within the rules.


Here is a list of the most important things to gather.

1.Scissors and/or a blade to cut with, preferabley both.

2.Adhesive–a glue stick is best for paper, but school glue will work too. A stapler is an option , if you do not have any kind of glue. My husband has wood glue in the garage, so that is an option for me. Raid you kids school supplies.

3. Paper for signatures. A journal is for writing, so you need some kind of blank paper. Copy paper, note book paper,etc.

4. Something to make the cover. It can be hard cover or soft. Gut a old book, or use a cereal box. If you are using cardboard, keep in mind the size of the paper you are using and make sure it is large enough for a front and back cover plus the spine. There is no size requirement for this challenge and the paper can be cut down to fit what you choose. If you have an old 3 ring binder, that is an excellant option if you don’t have any way to attach the signatures. 

5. A way to attach the pages inside the cover. Needle and thread, or twine ,shoelaces, etc.

6. A pokey tool- An awl is not something most people have just lying around, but a small phillip head screwdriver will work too.

7. Straight edge-A ruler or anything with a straight edge you can cut or tear against. You might not even want to have straight edges, so this is optional.


The rest is embellishments and the sky is the limit. Junk mail, magazines, flyers, packaging, fastners, etc. I will show you all my choices in my next post and elaborate on why I chose them. I already have some thinking outside the box ideas that may inspire you. Also, if you don’t think you have some of these basic items and want to change the challenge to “spend as little as possible” so you can play along, I think that would be great!

Please comment and let me know if you are playing along. I would love to see your creations, you can tag me on IG @dragonangel517.  And I am on Facebook too. Have a great idea for using a non craft item that may not be obvious? Comment below! 


Crafty Dragon Tips

As a newbie crafter, I am learning as I go. As I said in my earlier post, I am trying to be frugal. Buying name brand craft supplies can get real expensive, real quick. So today, I thought I would update you on my progress in accumulating supplies and share some tips I have learned. I would love comments and suggestions!!!

Crafting is messy, especially mixed media. I am clumsy by nature, as well as messy. If you are too, make sure your work area is where spills will not be a problem. The more room, the better. I have limited work space, so things get cluttered quickly. Paper towels and rags are a must,as are gloves. I buy my latex gloves at Harbor Freight, and I like them to fit snug. The ones I have now are a bit too loose, and I find it makes it difficult to pick up smaller items. Baby wipes are great to have around, as well as cotton swabs. Scissors. I am always losing my scissors.

Dollar Tree is where I am finding some of my basic supplies like containers. As I experiment with making various paints, I am making small portions until I figure out the best recipes. Dollar Tree has the perfect size containers.

DSCN1634

Not all Dollar Trees are equal. I had to go to several different stores to find the LA Colors eye shadows to make my glimmer sprays. Finally found them at a store about 50 miles away. I was on my way home from my daughter’s  and stopped in in the hopes of finally finding some. I was so happy when they had all the colors I wanted, so I stocked up. Now, I will just stop by whenever I go visit.

DSCN1622

I had ordered  a different brand from Wish.com, another great way to save money, however, it takes awhile to get your items. They are much smaller by comparison, and virtually the same colors, so I will stick with LA Colors. I did get a black though, but I am thinking buying cheap cake shadow and crushing it myself will work just as well. I have several eye shadow collections I don’t use, so I will try that. The finer the powder, the better.Once I get better at the actual creation of a project process, I may decide to invest in bulk mica powders, but for now, this is the way I am going. It’s a fun and relatively inexpensive way to try things out.

DSCN1629

To use the LA Colors, you have to pry off the bottom, which is hard. I would recommend once it is open, transfer whatever you don’t use into a slightly larger container so it doesn’t fly everywhere the next time you open it. I used half of one to make some glimmer spray, but when I put the bottom back, it didn’t seal. So I ended up with a mess.

DSCN1618

I didn’t waste it though. I mixed it with some Mod Podge and now have some glimmer paint! I used a whole package of eye shadow to make a bottle of glimmer spray.It still had powder clinging to the sides,so instead of throwing the container away,I put it in a plastic bowl and rinsed with a little alcohol, and used it to finish filling up my bottle of spray.It came with a cute little brush, so I am saving it for future use.

In my previous post, I made a bunch of alcohol ink with cheap markers. The colors are not as intense as I wanted, so I added a second marker to them. Sharpie markers are a better way to go. The colors are much richer. When I transfer the ink to my dropper bottles, I don’t through away the marker bits, but add more alcohol. I’m sure I will have a project in the future that will need paler colors. I also tried using glycerin dies, bought in the baking section of the craft store. Cheaper than regular food color, but my Michael’s did not have a big selection of colors. I haven’t used anything in a project yet, but test swabs seem promising. I broke down and bought a lot of Ranger inks from eBay, just to see the consistency and color range. It’s a lot cheaper to buy a lot than to buy individual packages. Average price at a craft store is 9.99 for a three pack. I paid 39.95,free shipping, for 21 different colors. 1.90 versus 3.33 each.Jo Ann’s and Michael’s and Hobby Lobby often have sales, so if you don’t want to put out 40 bucks at one time, wait for a sale. Once they come in, I will do a comparison post.

When you first start buying supplies, especially if you are starting from scratch, purchasing DIY supplies will seem like it is more expensive, but in the long run it will not be.However, if you are only dabbling, buying name brand might be better. The projects I have in mind for the future require many different items in various amounts, so I am going in whole hog. Besides writing, this is my creative outlet.

I bought a die cutting and embossing machine, a Sizzix Big Shot. This is my biggest expense so far. Dies are not cheap, nor are stencils and stamps, especially the steampunk themed ones I want. So I am slowly amassing them, with the intention of selling some of the die cuts on ebay to offset the expense. I still have to look into the legality of that.Maybe I will just do some swaps with other die cutters.

I also invested in a couple of clay molds to make gears. Never worked with polymer clay, so that will be a fun experience.Got a laminator, mainly to make book marks, which I may sell on Etsy. I am not looking to make a living doing this, but if I can get a few bucks back here and there, it’s all good. I am doing this for my enjoyment only, like my writing.  In watching YouTube videos, I have learned just how much effort  and expense goes into creating some of my favorite mixed media pieces. Which is why I am trying to create my own.

Spray bottles are not cheap. I plan to buy in bulk in the future and sell some extras on Ebay. In my search for supplies, I have found you either have to pay more for individual items, or buy in bulk and end up with way more than you can use. With no intention of selling my stuff for profit, bulk doesn’t make sense on items I can reuse.

I made some texture paste and gesso. The recipe I used for gesso is from a video on YouTube by mytherapyroom.

GESSO
¼ cup Plaster of Paris (or you can use baby powder) *I used baby powder.
¼ cup water
½ cup white acrylic paint
¼ cup white glue (I buy the cheap Dollar Store glue for this)
Pour all ingredients into an air tight container and mix WELL. You want to make sure all of your Plaster of Paris is mixed in very well. If you want a heavier Gesso then simply add more Plaster of Paris. If you want a light Gesso, add a bit more paint.

Gesso dries to opaque white.I found several recipes for clear gesso, but it requires marble dust, which can be bought on Amazon. I do not see me needing any in the near future so I will hold off on that for now.

I got this recipe for texture paste from gauchealchemy on YouTube.
TEXTURE PASTE
1 part white paint

1 part talc(baby powder)
1/2 part glue( I used ModPodge because I had it on hand.)

The texture paste didn’t seem thick enough so I added more baby powder. Still not happy with it, so I will search out another recipe to try. I have one using plaster of paris that looks like it may work better.

That’s it for now. Check back for the further adventures of a Crafty Dragon!

Craft Video of The Day

I am having great fun looking at all the crafting videos I have found on Youtube, so I thought I would share some of my faves with you. This one is from Pink Poodle Crafts. She does lots of instructional videos, and I found her while looking for DIY supplies videos. I may or may not make this, but I think is a great idea.


The Crafty Dragon

I have recently been bit by the crafting bug. Again.I must be tasty because that little bugger keeps coming back. The problem is I have no talent. I look at pins on Pinterest and watch YouTube videos and delusionally think “I can do that!” More times than not, I find I can’t do that. At least not well. But this time, I think I have actually found a craft I can do. And so, as usual, I am going in whole hog.

Mixed media.Sounds innocent enough. I became aware of it a little over a year ago. I got into making pocket letters, another craft I am somewhat proficient at. But that’s  another blog post. As I looked for paper supplies at the craft store, I stumbled upon the Tim Holtz Alterations aisle.Be still my beating heart. Steam punk and vintage items galore. It called to my inner creative goddess.So what did I do? Googled myself into thinking I had found my artistic calling. And then I was brought rudely back to Earth when I started adding up all the things I would need to buy.

Thank goodness for Youtube, and all those crafty people who, like me, hate paying exorbitant prices for hobby things. I found several videos that have educated me in how to DIY craft supplies. I will still have to buy a die cutting machine to make the chipboard embellishments, but most everything else can be made on the cheap. At least in theory. Since I am a complete novice, I will be trying out  different things and documenting them here. I am sure there will plenty of failures, but hopefully there will be successes too.

Before I start any project, I need to get my supplies stocked  up. The first two DIY things I am attempting are alcohol ink and glimmer spray. In the future I will be making texture compound and gesso.

You will need permanent markers, I am using an 8 pack from Dollar Tree, just to see how cheap I can go. The colors in the picture didn’t seem to come out correctly. They are green, blue, red, orange,yellow, purple black, and pink. The videos on Youtube all use Sharpie brand,which I will try next. I got the containers there also, a ten pack. So far 2.00. To use the ink, I will need dropper bottles, and spray bottles. But for now, I am just interesting in seeing how the ink turns out in terms of color.

20160530_123746

Next is 91 % alcohol. Everyone seems to agree, the higher the percentage, the better. Dollar Tree only sells 50%, so I went to Dollar General,$1.55. Probably could have gotten it cheaper at Walmart, but didn’t have time to go there.Please excuse my messy desk.

20160530_123852.jpg

Wear gloves,  this is a messy project. Fill container with alcohol.Using a pair of needle nose pliers, pull out the pin tip and place in alcohol. Then pull top off pen off and take out ink cylinder. It has a plastic sleeve, but be careful, it might drip. Cut in half using exacto knife. Slice through plastic sleeve, exposing the inside and place in alcohol. Clean blade and pliers tip before going to next color.

20160530_124804.jpg

Since I had 10 containers and only 8 markers, I found an old blue Sharpie, and a metallic purple marker, so I did those also. Just from looking at the colors of the ink, I am thinking Sharpies will be a better way to go, although more expensive.

20160530_125845

The two on top are Sharpie’s, the two on bottom the Dollar Tree markers. This is after sitting only a few minutes. I will let them sit for awhile, until I get ready to use them and see if the color intensifies.

Next I did the glimmer sprays. Here’s the link to the video I watched.

I couldn’t find the colors she used, but I did find pink and purple.

20160530_130120.jpg

I used two old spray bottles I had . Remember, I am trying to be frugal.One tip I have, is to see where the bottom of the funnel comes to and make sure to only fill with alcohol to below that, because it will clog when you add the powder. Instead of glue, I used liquid hairspray, again from Dollar Tree.


20160530_130128.jpg

This is what I ended up with.

20160530_131120

20160530_130545

So that’s it so far. Can’t wait to see how these work out.